Tips for Painting an Ombre Accent Wall

The 19th century gave us many of art’s greatest ideas, and one of them was the impressionist movement. Rather than relying on a great amount of detail, this style utilized blending colors to give us an “impression” of a scene. The movement showed us just how powerful colors could be. A few shades of blue could give us the impression of a sunny day at sea—reds and oranges, a beautiful sunset.
In many ways, this simple artistic concept is what makes the ombre accent wall such a stunning tool in a room’s design. But you don’t have to be Monet or Degas to pull this masterpiece off. All you need is to follow our tips for painting an ombre accent wall.
What Is an Ombre Accent Wall?
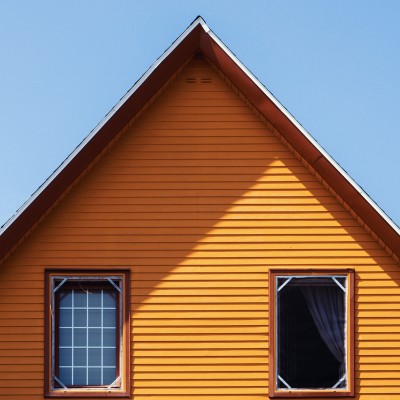
An ombre wall design uses the same artistic principles as impressionist artists. Typically, they involve a color gradient with several colors painted right next to each other that blend into each other. Often, this is several shades of a single color or multiple different colors. Either way, the hues will either go from darkest to lightest or lightest to darkest, starting at the top or bottom of the wall.
Why Paint an Ombre Wall?
Adds Visual Interest
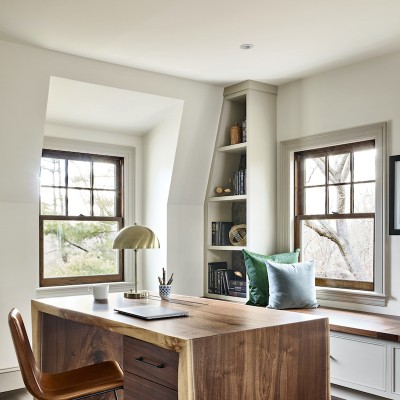
Art is created for many reasons, and breathing life into a space is one of them. Typically, adding art to a room means hanging art in frames on the wall. Ombre accent walls create a unique opportunity to add art to the wall itself in a more understated way than a mural. All accent walls catch the eye, but ombre walls add another level of color and prestige.
Creates a Focal Point
A room’s design is often tied together by a central design piece. Sometimes this is a large piece of furniture or an architectural element such as a fireplace. Ombre accent walls create a perfect focal point that can fit any room’s size and shape. And because the walls are multiple colors of your choice, you can also use them as the perfect way to tie up your room’s color scheme, unifying your room’s design.
How To Paint an Ombre Accent Wall
Choosing Your Colors
An ombre wall is all about color, so this choice is even more important than most paint projects. As mentioned, you can choose a single color with multiple shades or multiple colors. While there is no right or wrong answer, here are a few ideas you may consider:
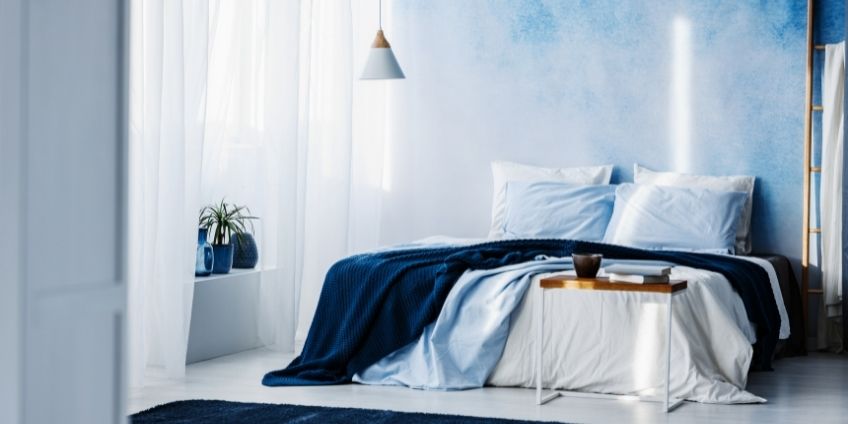
- A Day at Sea: Alternating shades of blue going with the lightest shades on the top to the darkest on the bottom. See our 0636 Empress Lila, 0638 Watery Sea, and 0641 Dancing Sea shades.
- A Walk in the Woods: This is similar to a day at sea, only we focus on three shades of green, and we place our darker colors at the top, fading into our lighter shades at the bottom. We recommend our 0766 Gentle Caress, 0764 Green Sheen, and 0762 Green Song.
- Desert Sunrise or Sunset: Choose a yellow, orange, and red (see our 0835 Glitter Yellow, 0963 Zambia, and 1109 Party Time) and paint them together. For a sunrise, start with yellow on the bottom and red and the top. For a sunset, paint the colors in the opposite order.
- Clouds on the Mountains: For this dramatic look, paint multiple shades of a cooler grey, with the lightest at the top and the darkest on the bottom. We recommend choosing four greys. See our 0516 Diamond Stud, 0518 Let it Rain, 0520 Slate Tint, and 0522 Octavius.
Pro-Tip
A color on a swatch or computer screen will look much different than a color on your wall or a color right next to another color. Before you settle on a color, make sure you try to paint swatches on the wall with the color right next to each other to see if they will meld well together.
Preparing the Wall
Whether you’re painting an ombre wall or flat colors, it’s always important to prepare your walls before you paint them. Otherwise, you run the risk of your paint chipping, bubbling, or not lasting. Make sure you wipe your walls down to remove any dust, dirt, or grease. If there is old, chipping paint, you will also want to remove this paint and apply a coat of primer and allow it to dry before painting.
Paint the Base
Whether your accent wall goes from light to dark or from dark to light, you will start by painting your entire wall the lightest color on your spectrum. This will create your base. Allow the paint several hours to dry completely before you move on to the next step.
Dividing the Sections
Before painting the other sections, take a pencil and lightly trace approximately where you want each section to begin and end. Some painters have each color take up an equal amount of space. Others choose to concentrate most of their darker colors on the bottom or top of the wall, leaving the rest of the wall the more neutral pale color. It all depends on how bold or subtle you want the wall to be.
Painting the Sections
Next, you will paint your divided sections with the selected paints using a paint roller. Start by painting them side by side. Then, before they dry, you will blend them. There are two methods for blending them: creating a wet edge or using blended paints.
Creating a Wet Edge
Once you have your sections painted off, use paintbrushes to repaint the edges of your sections with an additional layer of paint. Then, using a plain, wet brush, blend the paints by moving your brush across the line at a 45-degree angle across the line.
Blending Paints
Before you start painting, identify which paints will end up touching. For each set of colors that intersect, set aside and blend a small portion of these paints. For instance, if we were painting the “Walk in the Woods” ombre wall from earlier, we would want a small bucket of “Gentle Caress” mixed with “Green Sheen” and another bucket of “Green Sheen” mixed with “Green Song.”
When you’ve rolled out your base sections, roll out a shade of the blended paints between the different sections, then follow the steps for creating a wet edge between all the new sections. This will create a smoother transition between colors.
We aren’t all artists like the impressionists of the 1800s, but at ECOS Paints, we believe everyone has an inner artist that they can let out with the right tools. With our hundreds of non-toxic* interior paints, you can create an ombre wall worthy of any gallery.
Non-toxic: Conforms to ASTM-D4236, specifically concerning oral toxicity, skin irritation and respiratory effects.