How To Prepare a Damaged Wall Before Painting

When it comes to creating a satin-smooth paint job, half the battle is our painting technique. We take the time to stir paint correctly, ensure the room is at an optimal temperature, and allow the paint to dry between coats. But even the best technique cannot compensate for a damaged wall.
Fortunately, knowing how to prepare a damaged wall before painting will help you get a perfect finish.
Why You Should Repair Wall Damage
It can be tempting to just paint over wall damage. However, that damage can spell trouble for your paint job. Beyond the unsightly appearance it gives the finish, an unprepared wall can potentially lead to a less durable paint job. Additionally, more extensive wall damage may let in the elements, which is the last thing your home needs.
Types of Wall Damage
There are dozens of ways a wall can sustain damage, some more subtle than others. Any of them can hamper your paint finish. Knowing the types of damage will help you notice issues before you begin painting. For instance:
- Nail or mount holes
- Scratches
- Dents
- Cracks
- Loosened joint tape
- Damage to previous paint jobs
Fortunately, you can repair most types of wall damage the same way.
How To Prepare Wall Damage Before Painting
Flatten Protrusions
Whether the damage to your wall is a nail hole or a dent, your first goal is to make sure the entire surface is flat for repairs. That means taking a small utility knife to these areas to smooth down any protrusions or loose paint. If you are repairing a nail hole, you can potentially push some loose materials into the hole itself.
Add Spackle
Spackle tends to shrink, so when you are going over damaged areas, it’s OK to go over it more than once, overfilling the indentation or hole by a small amount. However, be wary of adding too much spackle. Remember, the goal is for a completely flat surface, and an overabundance of spackle may lead to lumps in the finish.
Sand the Area
After the spackle has dried for at least 24 hours, it’s time to go over the area with a sanding block. Using a sanding sponge or 120- to 150-grit sandpaper will usually be sufficient in getting the area completely smooth. From here, you’ll be able to paint over the wall with your zero-VOC* primer and paints.
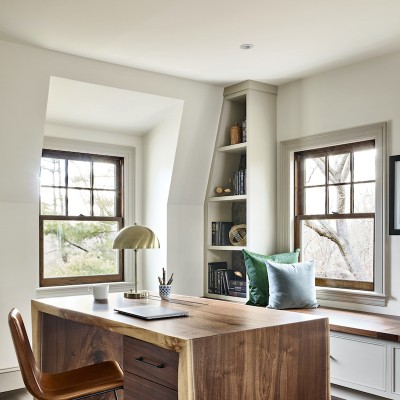
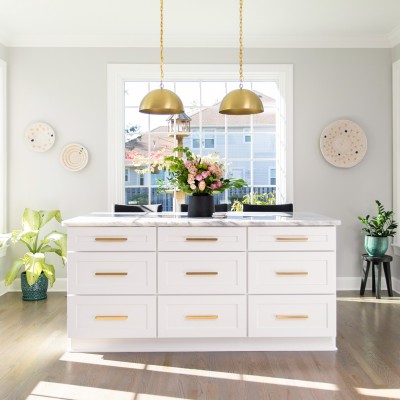
We all want a satin-smooth paint job. And once your walls are repaired and ready for action, ECOS Paints is there to supply the paint you need for a gorgeous finish to your walls.
Zero VOC - Conforms to CDPH 01350 (VOC emissions test taken at 11, 12, & 14 days for classroom & office use).