How To Properly Sand Wood Before Painting It
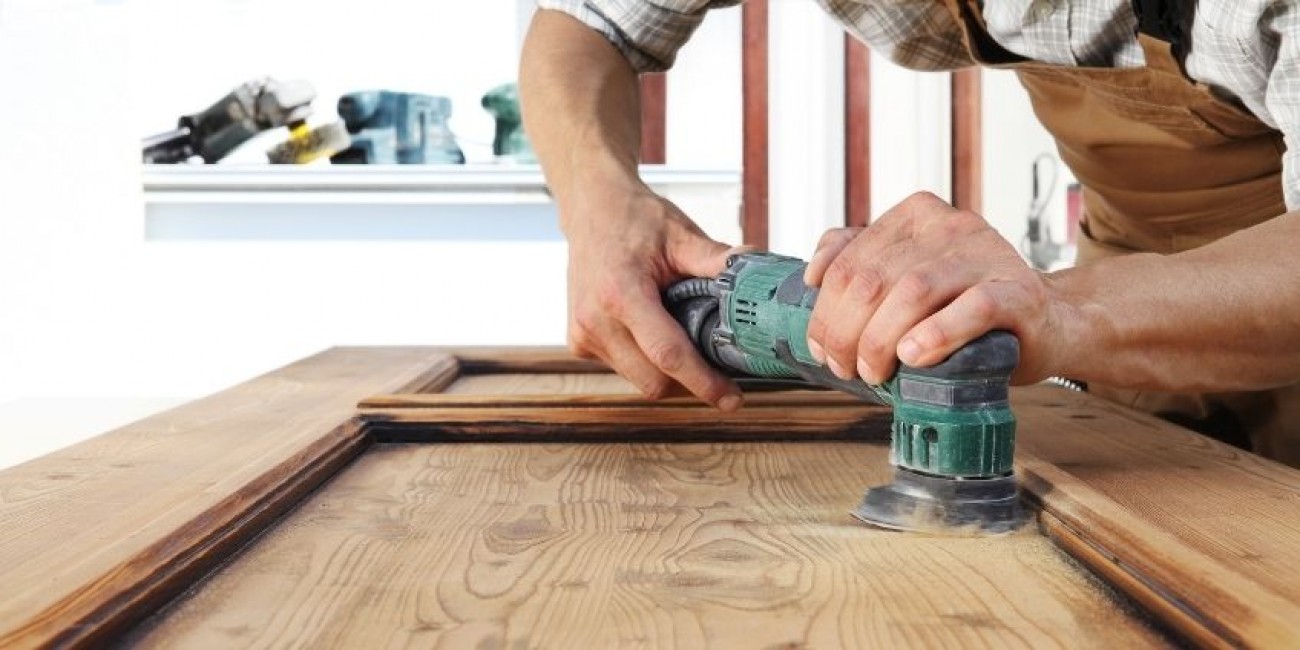
When it comes to painting wooden furniture or trim, no one wants a rough or uneven paint job. But the key to a smooth paint job starts before your wood sees even a drop of paint. It starts with a well-prepared surface and knowing how to properly sand wood before painting it. A good sanding will ensure your paint comes out silky-smooth and help the paint adhere to the surface for a sturdier paint job.
Choose the Right Supplies
PPE
To protect yourself from the wood dust, you’ll need—at a minimum—goggles and a face mask. If you’re using a power sander, you may also want to invest in earplugs or noise-canceling earmuffs, depending on the volume of the engine. Lastly, if you find that gripping the sandpaper bothers your hands, you may want to consider a pair of gloves.
Sanding Supplies
There are three types of tools for sanding, each of which is used for a different purpose.
- Power sanders: for quickly sanding down smooth surfaces such as tabletops.
- Sanding blocks: for putting a greater amount of pressure on flat surfaces.
- Sandpaper: for getting into crevices that power sanders and blocks can’t reach.
A Note on Grit
Sanding materials are categorized by a grit number. This number will tell you how abrasive the sandpaper is. A lower grit is more abrasive and should be used for removing materials. A higher grit is less abrasive and is used more for smoothing and polishing. You’ll want to use different grits at different stages of sanding.
Additional Materials
For preparing surfaces, you’ll need warm water, a rag, a scraper, a tack cloth, and a wood cleaner such as a TSP substitute.
Prepare the Surface
You don’t have to remove all the old paint from a surface before sanding. However, if there are places where the paint is peeling, you should use a scraper to remove these parts. Before using a scraper or sander, make sure you’re not dealing with lead-based paint. You’ll have to use chemical paint removers for this type of paint. After removing the paint, wash any dirt or oil from the surface and then allow the wood to dry completely.
First Sanding
To properly sand wood before for painting it, start with a more abrasive grit. The goal isn’t to remove all the existing paint but to prepare the surface so that the primer will adhere to it. Follow the grain as you sand, alternating between the different sanding tools depending on the surface. Once you’re done sanding, use a tack cloth to remove dust particles before applying primer.
Second Sanding
After applying the primer, you’ll want to sand the wood again. The purpose here is to smooth off the brush marks from the primer, so use a less abrasive paper to polish the surface. From here, your zero VOC* furniture paint will roll on as smooth as satin.
Zero VOC - Conforms to CDPH 01350 (VOC emissions test taken at 11, 12, & 14 days for classroom and office use).


