Techniques for Painting Stripes on Your Walls

The internet is filled with fantastic and unique ideas for patterned walls, from tessellations to geometric shapes. But sometimes the simplest patterns add the greatest elegance to a space. This is especially true of rooms with striped walls.
But just because a pattern is straightforward doesn’t mean it doesn’t require skill to create it. Knowing the proper techniques for painting stripes on your walls is essential for creating a dazzling room design.
Plan Your Stripe Design
Orientation
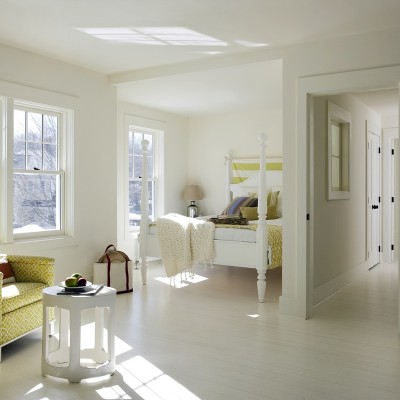
Typically, homeowners choose between two stripe orientations: vertical and horizontal. Vertical stripes are the most traditional and help make a room seem taller. This is especially valuable in rooms with low ceilings. Horizontal stripes tend to make a room appear more spacious.
It is also possible to paint diagonal stripes as well, though this pattern can make a room feel chaotic and even dizzying when done on every wall. Most reserve this design for an accent wall.
Color Scheme
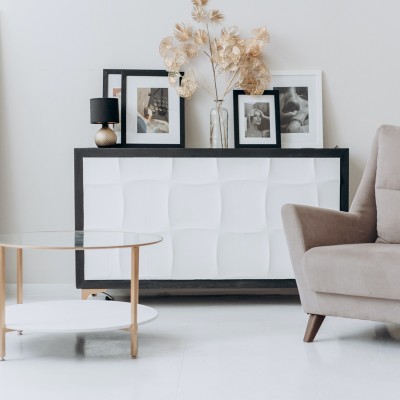
Stripes tend to alternate between two different colors across the walls, and there is no “best” answer for which colors to choose.
Having highly contrasting colors, such as a dark color and a white, creates a louder statement and may overwhelm the eye, so it may do better as an accent. More subtle differences, such as shades of the same color, work better throughout the whole room.
Determine Stripe Width
When determining the length of your stripes, start with measuring your walls. For vertical stripes, measure the horizontal width of the wall. For horizontal stripes, measure the vertical height. Take that number and divide it into an odd number of stripes. This will ensure the color pattern has closure.
Keep in mind that thin stripes create a “busier” pattern in your room, especially if they’re two high-contrast colors.
Start With Base Color
You will begin by painting your wall a base color, typically the lightest of the colors. Allow that coat to dry completely before you mark off the guidelines for your first set of stripes.
Getting a Straight Line
Using a tape measure will typically help you draw straight guidelines for your stripes. However, not every room is completely straight or level. If you want to be sure your stripes are truly straight, use a line laser leveler. These devices project a straight line across the wall that you can trace to help determine the placement for painter’s tape.
Apply Painter’s Tape
Using painter’s tape is one of the more common techniques for painting stripes on the wall, and for good reason. It helps ensure clean lines between stripes. However, it’s still possible to make mistakes.
Before painting, make sure that you flatten the tape against the wall with a puddy tool to help keep the paint from bleeding through. Also, be sure to remove the paint slowly at a forty-five-degree angle to ensure you don’t accidentally take some of the paint up with it.
ECOS Paints has a wide variety of zero VOC* paints available to help your striped room stand out.
*Zero VOC - Conforms to CDPH 01350 (VOC emissions test taken at 11, 12, & 14 days for classroom & office use).