A Beginner’s Guide to Applying Wood Conditioner

When we think of the word “conditioner,” we usually think of hair-care products designed to make our hair softer and more manageable. But there’s another type of conditioner in the world of home improvement and DIY crafts. We’re referring to wood conditioner, the brilliant product that’s becoming a must-have among anyone who works with wood. Whether you’re building wooden knickknacks, upcycling wood furniture, or staining hardwood floors, our beginner’s guide to using wood conditioner will help you complete one-of-a-kind wood projects.
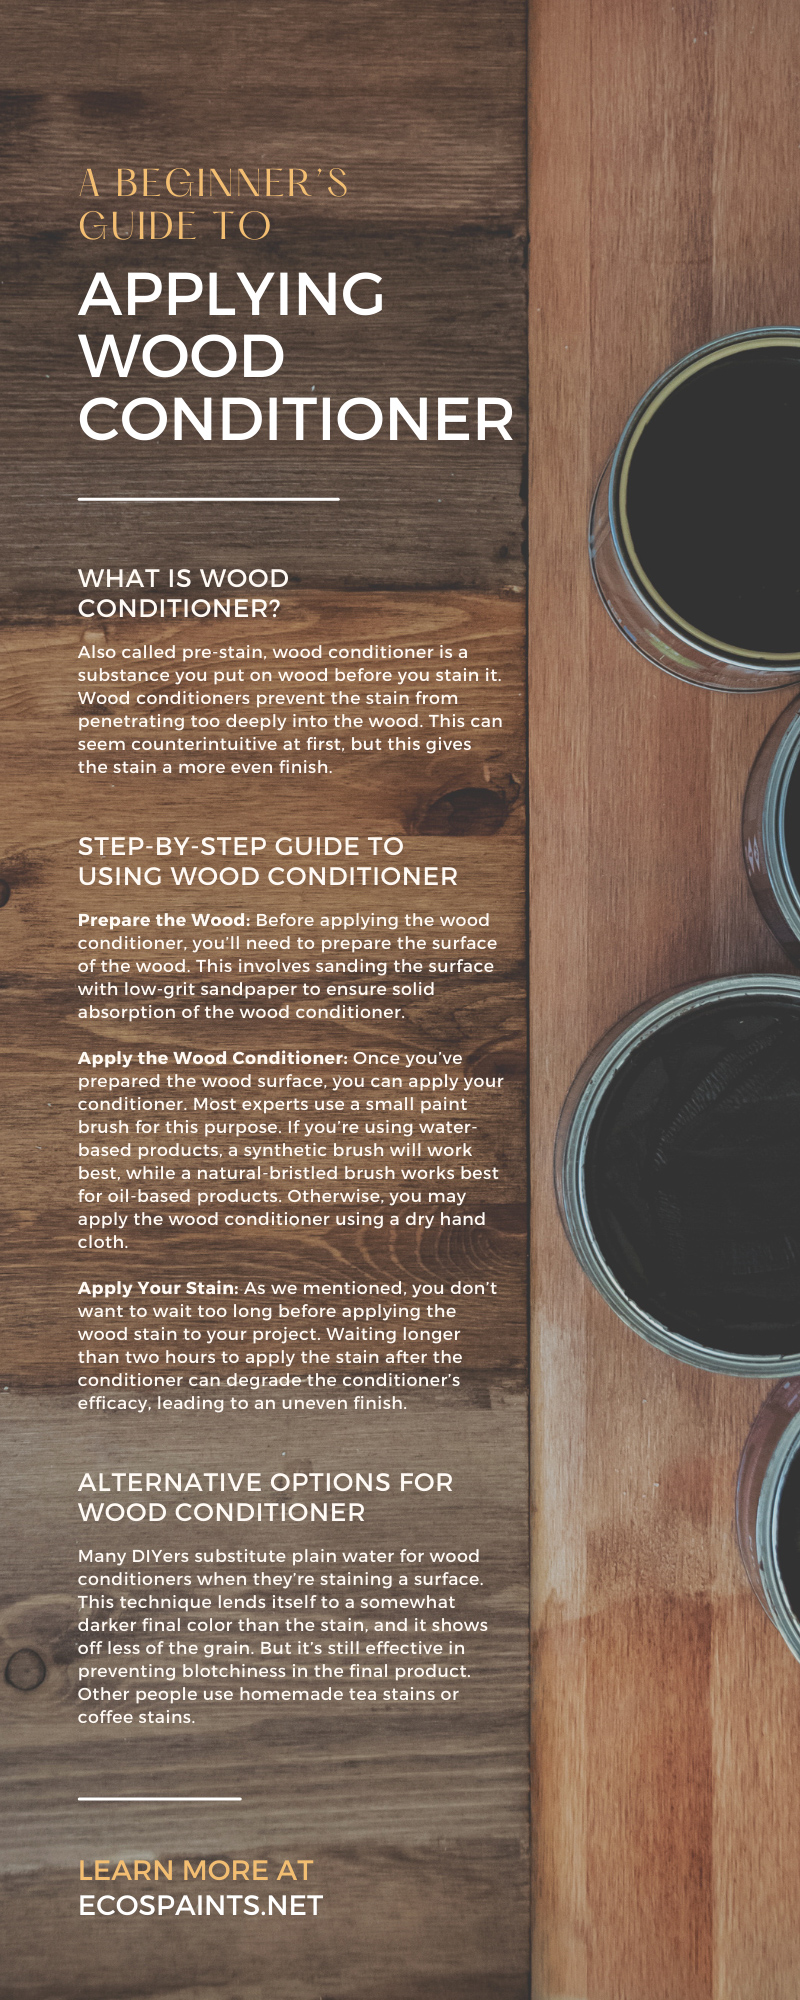
What Is Wood Conditioner?
Before we get into how to apply wood conditioner, we ought to answer the all-important question of what wood conditioner is. Also called pre-stain, wood conditioner is a substance you put on wood before you stain it. Wood conditioners prevent the stain from penetrating too deeply into the wood. This can seem counterintuitive at first, but this gives the stain a more even finish.
Although wood conditioner is necessary for applying stain, you don’t need to use it on every wood-related project. Applying wood conditioner before adding a finish or before painting your piece may actually affect the finished product negatively.
When To Use Wood Conditioner
The reason you need to prevent stain from penetrating a wood surface too far is that some woods are more porous than others. When wood is more porous, the stain can end up coming out blotchy, and the final color becomes more difficult to predict. As such, wood conditioner is always recommended when you’re working with softwoods such as:
- Poplar
- Yew
- Pine
- Juniper
- Redwood
- Spruce
- Douglas fir
In most cases, you don’t need to use a wood conditioner on a hardwood. However, some hardwoods—such as maple and birch—are more porous, so they can also benefit from the use of wood conditioners.
Step-by-Step Guide to Using Wood Conditioner
Gather the Necessary Tools
As with any DIY or home improvement project, you’ll need to gather the necessary tools in order to apply the wood conditioner correctly. Before you get started, be sure that you’re well-equipped with the following:
- A well-ventilated space
- Sandpaper
- A cloth towel
- A paintbrush or cloth
- Your wood conditioner of choice
- Wood stain
Keep in mind that you’ll want to have your wood stain on hand while you’re applying the wood conditioner, as you’ll need to apply the wood stain almost immediately after applying the conditioner. You won’t have enough time to run to the store to pick some up.
There are oil-based and water-based pre-stains on the market. Be sure that your wood conditioner’s base matches the base of the stain you’ll apply over it. We recommend a water-based stain and wood conditioner and stain to keep your area free of VOCs (volatile organic compounds).
Prepare the Wood
Before applying the wood conditioner, you’ll need to prepare the surface of the wood. This involves sanding the surface with low-grit sandpaper to ensure solid absorption of the wood conditioner. Sanding the wood by hand should be more than sufficient for proper absorption.
You should also ensure there’s no other residue on the wood, such as grime, dirt, sawdust, or glue. Wiping down the surface with a cloth towel or running a vacuum over the surface of the wood will ensure the surface is clean and ready for your wood conditioner.
Apply the Wood Conditioner
Once you’ve prepared the wood surface, you can apply your conditioner. Most experts use a small paint brush for this purpose. If you’re using water-based products, a synthetic brush will work best, while a natural-bristled brush works best for oil-based products. Otherwise, you may apply the wood conditioner using a dry hand cloth.
When applying the conditioner, cover the entire surface to ensure a nice, even final coat of stain. Avoid over-soaking some areas of the surface more than others, and wipe up any excess with a towel when you’re done. From there, allow the conditioner to sit for 5 to 15 minutes to ensure it has time to penetrate the wood’s surface.
Apply Your Stain
As we mentioned, you don’t want to wait too long before applying the wood stain to your project. Waiting longer than two hours to apply the stain after the conditioner can degrade the conditioner’s efficacy, leading to an uneven finish.
Mistakes To Avoid When Applying Wood Conditioner
The process of applying wood conditioner to wood is relatively straightforward; however, it’s not without its pitfalls. And falling into those pitfalls can leave you with a blotchy, uneven stain job when you’re finished, wasting your time, energy, and resources.
When you’re applying wood conditioner, be sure to avoid:
- Neglecting to sand the wood before applying the conditioner
- Using uneven strokes when applying the wood conditioner
- Not wiping up excess wood conditioner before allowing it to dry
- Waiting too long to apply the wood stain after the conditioner
- Buying a wood conditioner with a base that doesn’t match that of your wood stain
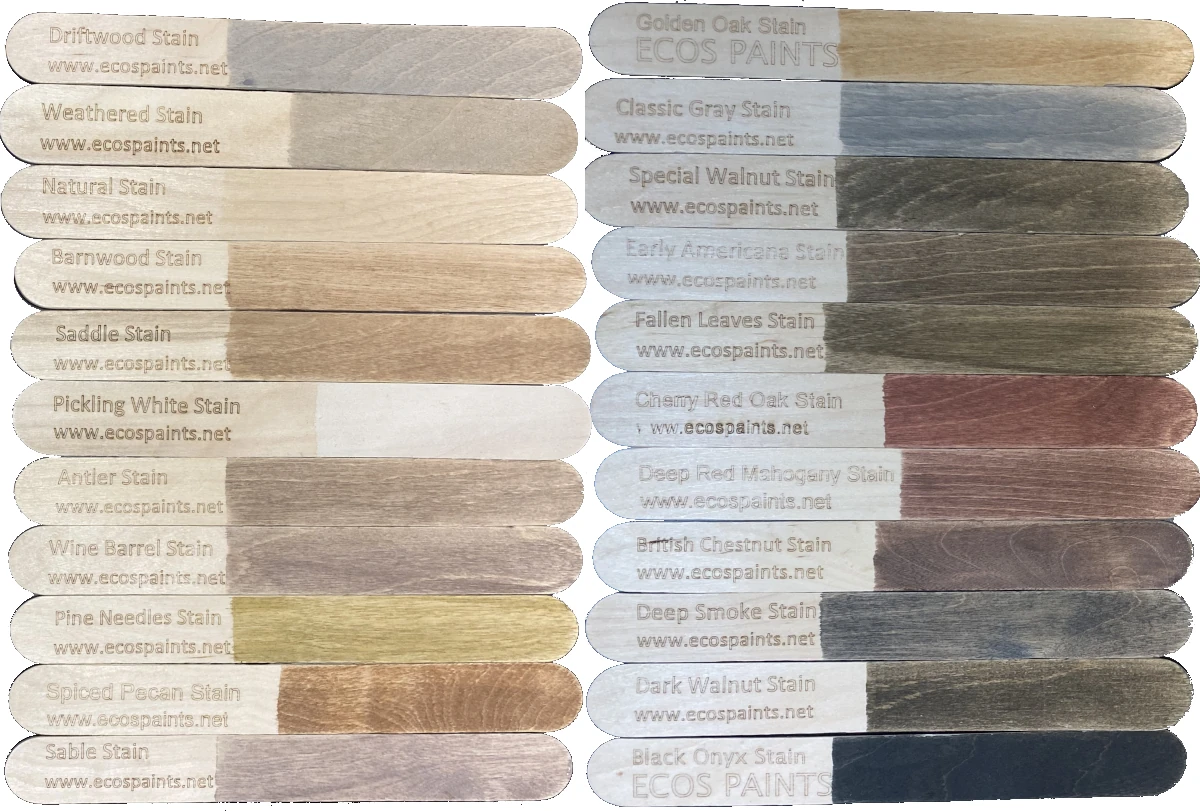
Applying wood conditioner to your surface is the first step to a gorgeous, even stain job. The second step is to use a high-quality stain, and ECOS Paints has you covered with our collection of nontoxic* wood stains perfect for any DIY or home improvement job.
*Non-toxic - Conforms to ASTM-D4236, specifically concerning oral toxicity, skin irritation and respiratory effects.