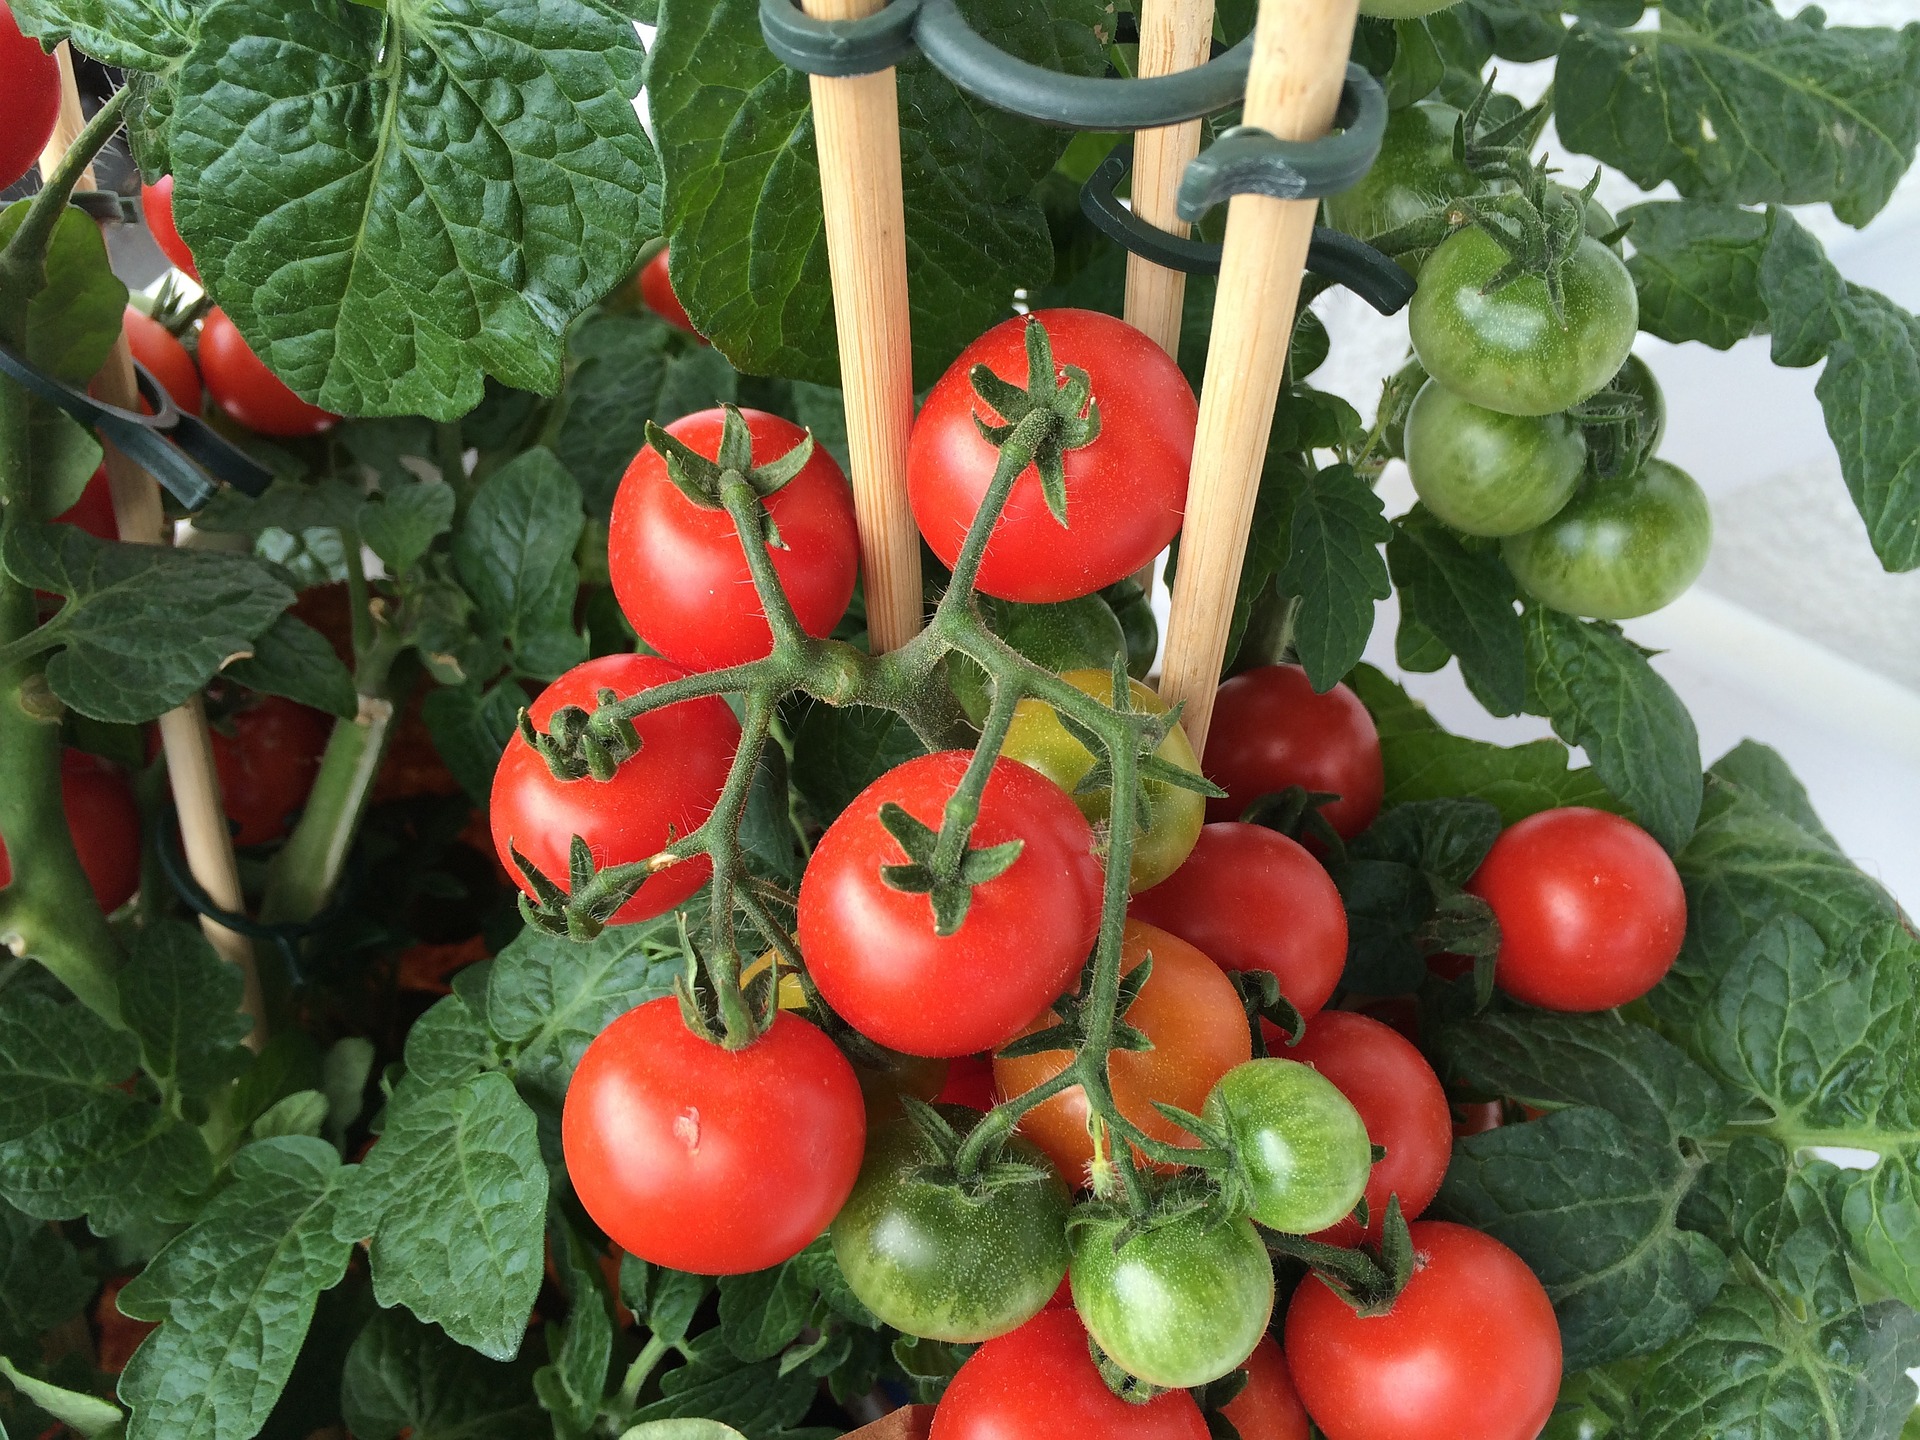
Your Complete Guide to Vegetable Container Gardening
A lot of people dream of a backyard vegetable garden, but simply don't have the yard space necessary to plant a garden directly into the soil. If this sounds like you, you're in luck! Anyone can have a fruit, vegetable, or herb garden thanks to the rising trend of container gardening. Container gardens are perfect for patios, apartment balconies, indoor gardening, and more. We've put together your complete guide to vegetable container gardening (with some fruits and herbs thrown in, too!) to help get you started.
Best Plants for Container Gardening
- Tomatoes
- Squash
- Herbs (such as Basil, Rosemary, Chives, Lavender, Parsley, Cilantro, Sage, and more)
- Strawberries
- Sweet Peppers
- Leafy Greens (like Spinach, Kale, and Lettuce)
- Cucumbers (bush variety is best)
- Carrots
- Beans
- Onions and Scallions
Essential Container Gardening Tips
- Less is NOT more. Pots and other garden containers get more and more expensive as they get bigger. It's of utmost importance that your container veggies have both the horizontal and vertical space that they need in order to produce plenty of fruit for your enjoyment. If you're planting more than one plant per pot, make sure they are 6 inches apart at the very least (though expert gardeners may cringe and suggest something more like 20 inches if possible!). Container plants will usually do just fine in pots that are at least 10 inches deep.
- Use containers with holes.
Though it's somewhat common knowledge, we couldn't leave this one out. Your containers should have holes at the bottom to help keep the soil well-drained. Plants in closed containers are highly susceptible to root-rot, the leading cause of failed container gardening. If you're using a salvaged container made of plastic or similar material, simply drill holes along the bottom to make sure your soil will drain. If it's ceramic or terra cotta, you'll need a special drill bit to create the holes.
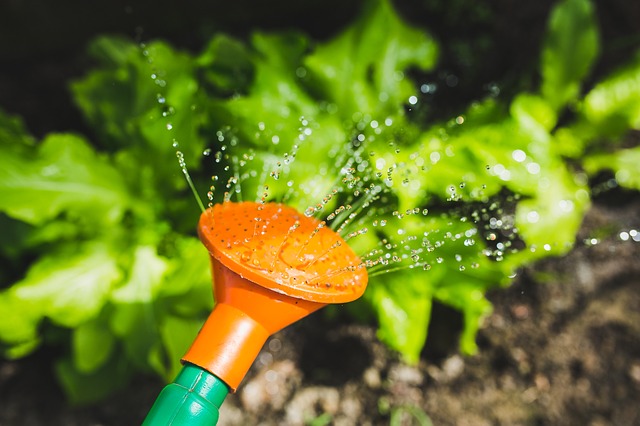
- Water, water, and more water! The biggest difference between traditional in-ground gardening and container gardening comes down to one thing: Water. Container pots dry up much more quickly due to the very small amount of soil. Give plants with dry topsoil a full soak - you'll see water draining out of the bottom when you've reached the optimal water amount. Of course, be careful to not over-water your plants, but most people are more likely to under-water (plants are thirsty!).
- Plants need to eat, too! Make sure to fertilize your plants as well as water them. There are plenty of organic fertilizers available for vegetables and herbs, such as Energy Buttons' Organic Fertilizer (bonus: it comes in a totally repurpose-able 5lb. bucket!). Apply fertilizer to your plants' soil about once every two weeks to ensure maximum health and growth.
- Harvest often Ahhh... The moment when all the hard work pays off. Make sure you harvest the fruits of your labor as soon as ripe enough to be removed from the plant, so as to make room for more growth and fruiting. This is especially true with leafy greens like kale, which will begin "killing off" unharvested leaves near the soil to make room for the new ones sprouting on top!
Featured DIY Repurposed Container: Repainted Buckets
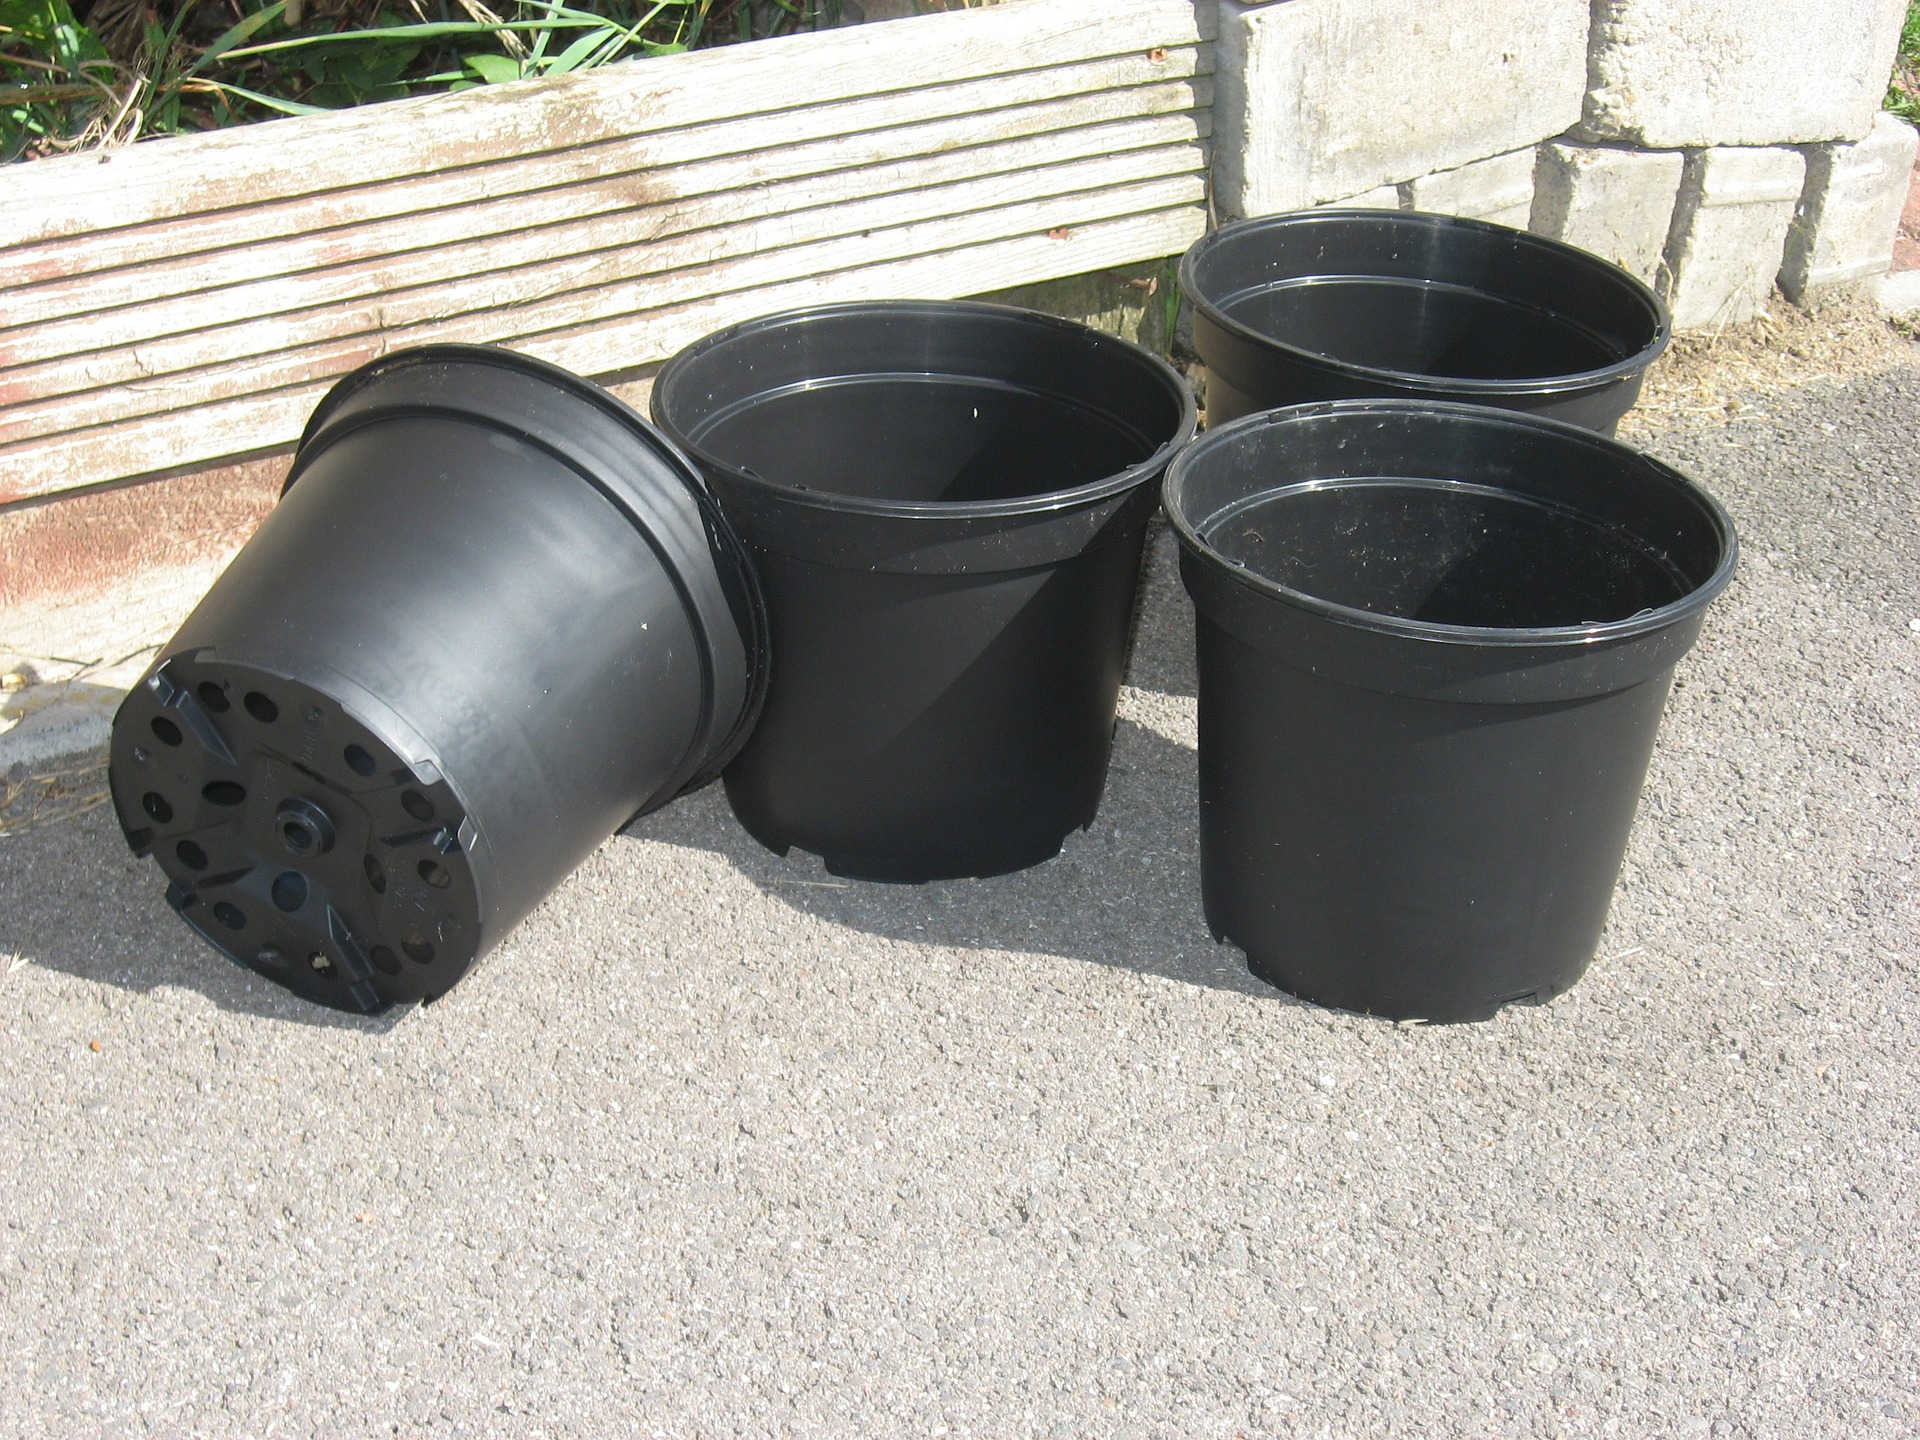
If you've got a few buckets or plain plastic planters lying around, you can use them to create a very stylish container garden with a simple and paint makeover.
Once you've drilled some drainage holes in the buckets (see Tip #2), you're all set to give your containers a makeover with a fresh coat or custom design using a hardy exterior paint, such as our Exterior Gloss Trim & Furniture Paint.
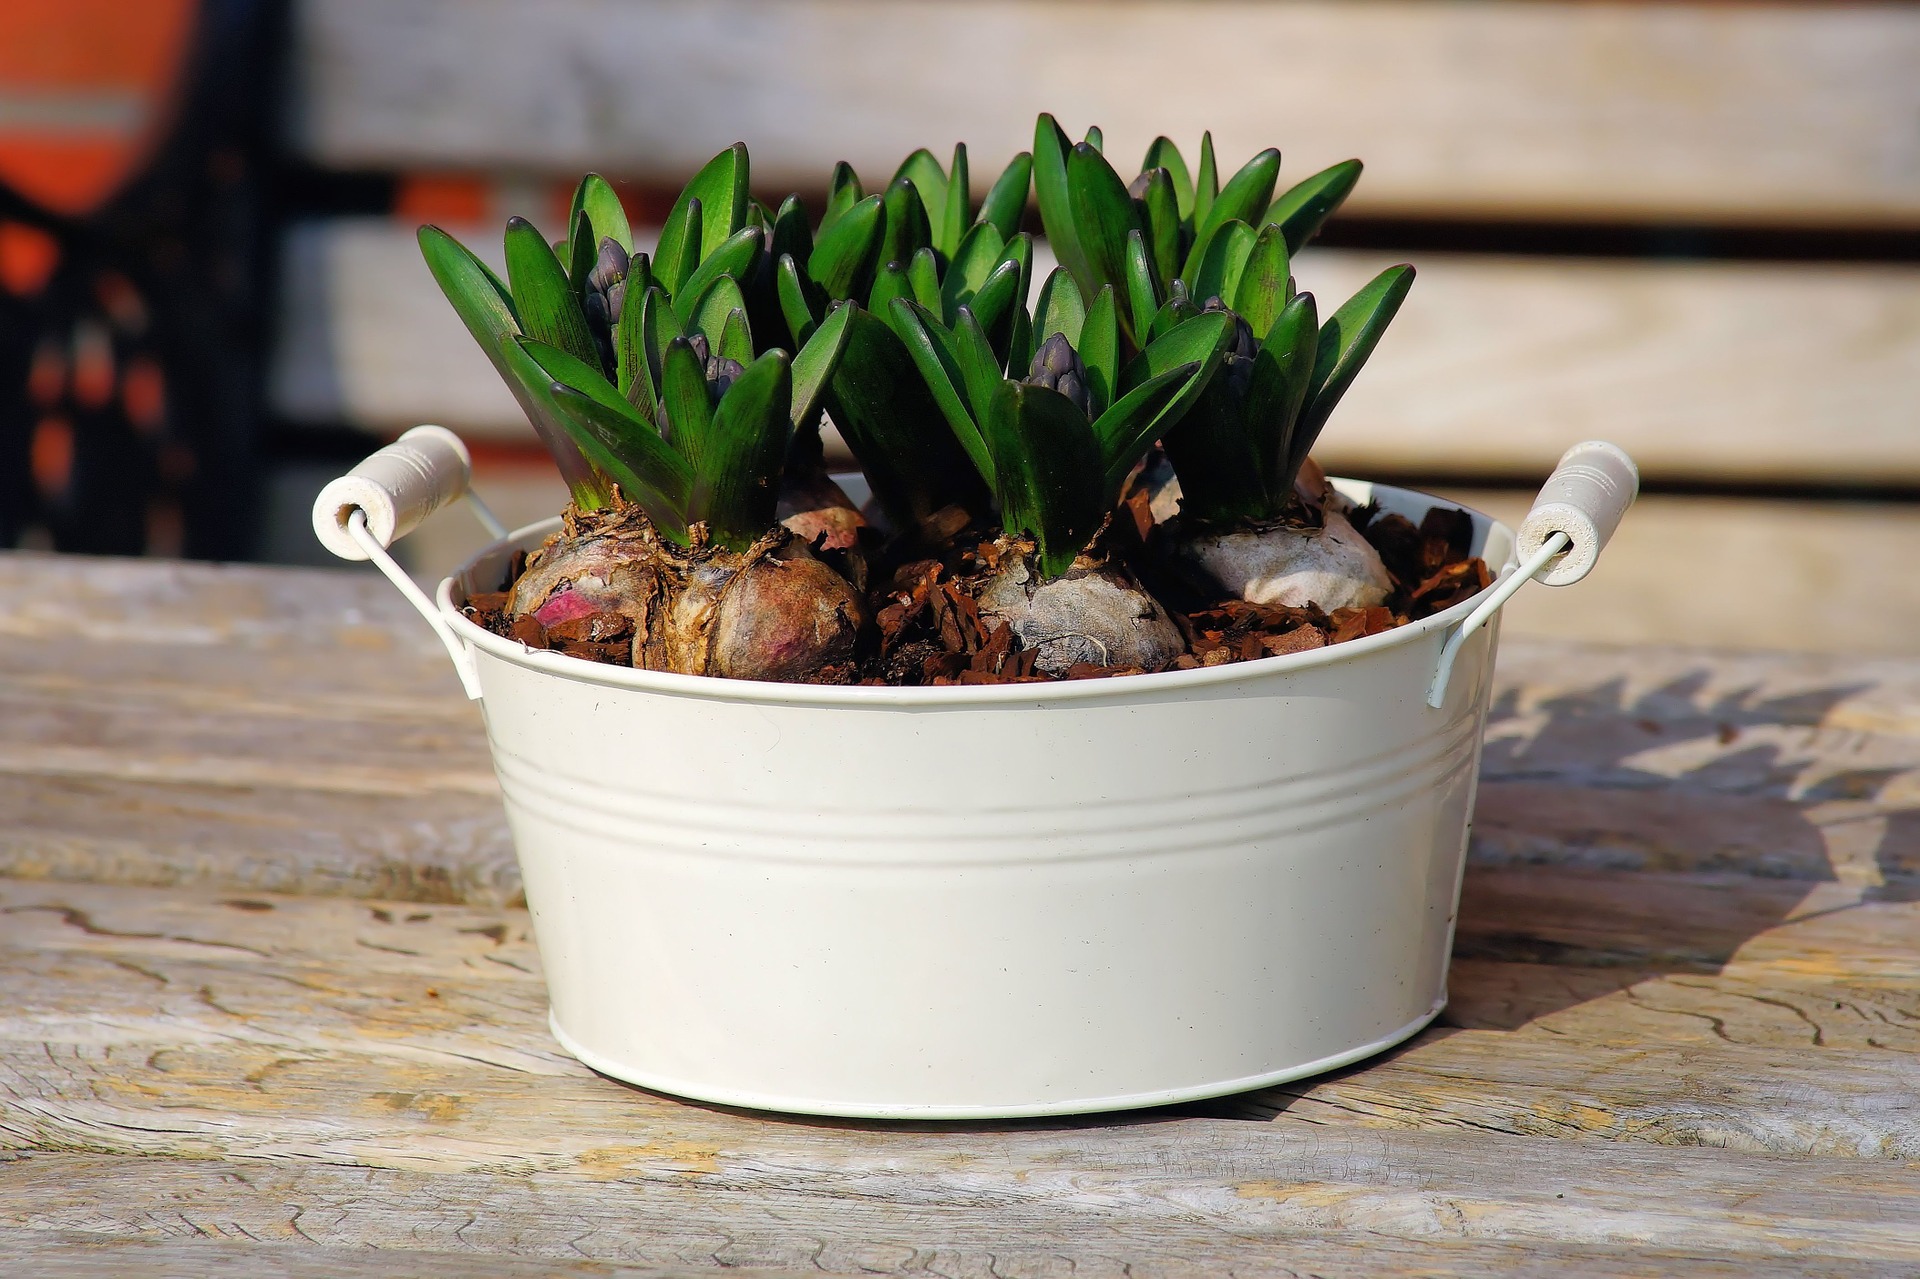
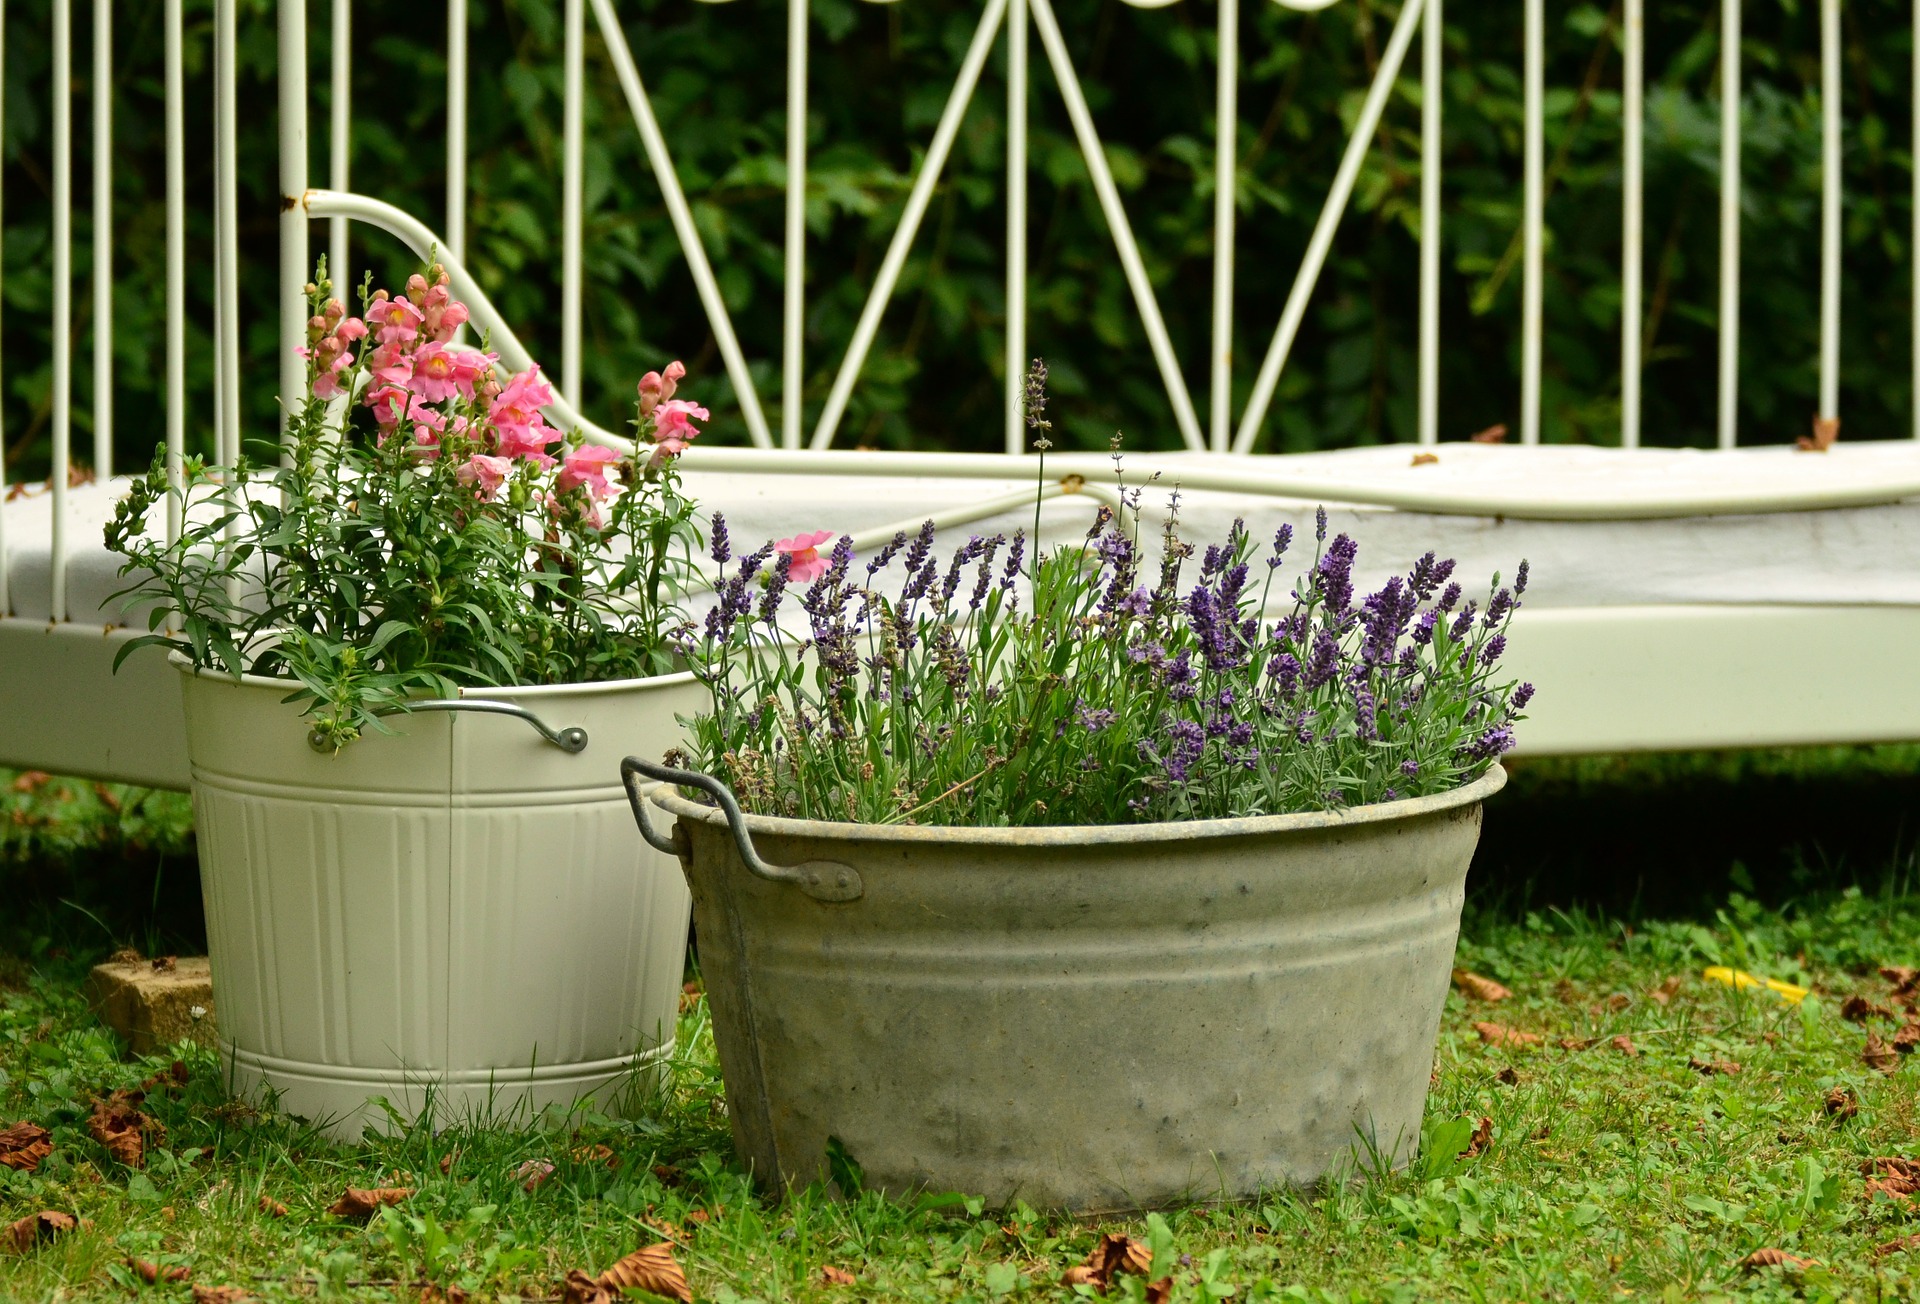
Whether your container garden will be in your yard, on a patio, or on your balcony, you'll love knowing that your good-lookin' garden is all thanks to some containers you were able to recycle. Repainting your containers is a simple way to achieve a look of uniformity throughout your garden, even if you're using repurposed containers!

