How to Do the Simplest Project to Transform Your Home
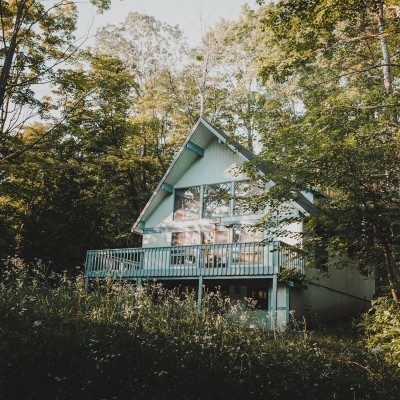
Looking for an easy way to transform your home? In our previous blog post, Easy Upgrade: 100+ Painted Front Door Ideas, we showed how this one-weekend project could drastically improve your home’s curb appeal and also give it more personality. We realize now that we left out something very important when we wrote it – how to paint the door to give it the longest lasting and highest quality finish. Since it’s more than likely the very first impression your house makes on a visitor, it’s definitely important that it's painted in a professional manner. Here's how to do the simplest project to transform your home.
#1 Take off all the hardware.
The door knob and lock can be taped and painted around, but to get the very best results they should be removed. Use a screwdriver to take them off. If you've never installed or removed these before, make sure you pay attention to how they fit together, so you know how to re-install them. This is also a great time to pick out new hardware and locks if you want to update them. If so, pick them out in advance so they're ready to install when the door is finished.
#2 Clean the door.
The front door of the house takes a lot of abuse from both people and the elements, so wipe it down to assess how good (or bad) of shape it’s in. You might see more dents and dings than you expected after looking at it closely. If so, you might need to purchase some wood putty to fill in cracks, dents, and holes. If the door is metal, there isn’t much you can do if there are dents, but it'll still look a lot better with a new coat of paint.
#3 Fill in cracks, dents, and holes with a sandable wood putty.
You'll be surprised at how much better your door can look with a little bit of putty. Use a one inch putty knife to press the wood putty into the damaged areas. Go a little heavy with it to ensure everything is adequately filled.
#4 Sand the door.
Even if you didn’t apply any wood putty, you should still sand the door. If it's already painted, sanding will rough up the old paint making the new paint adhere better. Using an electric palm sander will make this step go faster, but if you don’t own one, a 150 grit sanding sponge will work as well. Make sure to get in all the small crevices and whatever trim the door has. Wipe the door with a damp rag to remove the dust and wait until it's dry to apply primer.
#5 Apply Primer.
ECOS Universal Exterior Primer is perfect for this job. It's extremely durable, bonds very well with almost any kind of surface, and is stain blocking, so it'll cover up all those years of abuse. Apply the primer with a high quality two to three-inch brush, painting any trim or crevices first. This will make it easier to see any drips or runs. Paint the flat surfaces of the door with a mini roller in an even coat.
#6 Apply two coats of paint.
Again, we recommend ECOS Exterior Semi-Gloss Trim and Furniture Paint for this job – our durability and premium pigments will result in a professional looking paint job. Cheaper, low-end paint can leave you with a less than stellar appearance and probably won’t last as long. As you did with the primer, first paint any crevices or trim. Paint the flat surfaces of the door with a mini-roller. Let this dry thoroughly before applying the second coat. After you've rolled out the second coat, lightly brush through the rolled on paint while it is still wet to give the door a hand painted look.
#7 Install the hardware.
After the door is completely dry, you can install the hardware, stand back, and admire your beautiful new door! Then, stand back and see how much it transforms the overall appearance of your home. One simple, weekend project can make a massive impact!
Still have questions? Share them in the comments below. We're always happy to help!

