How To Eliminate Air Bubbles in Paint
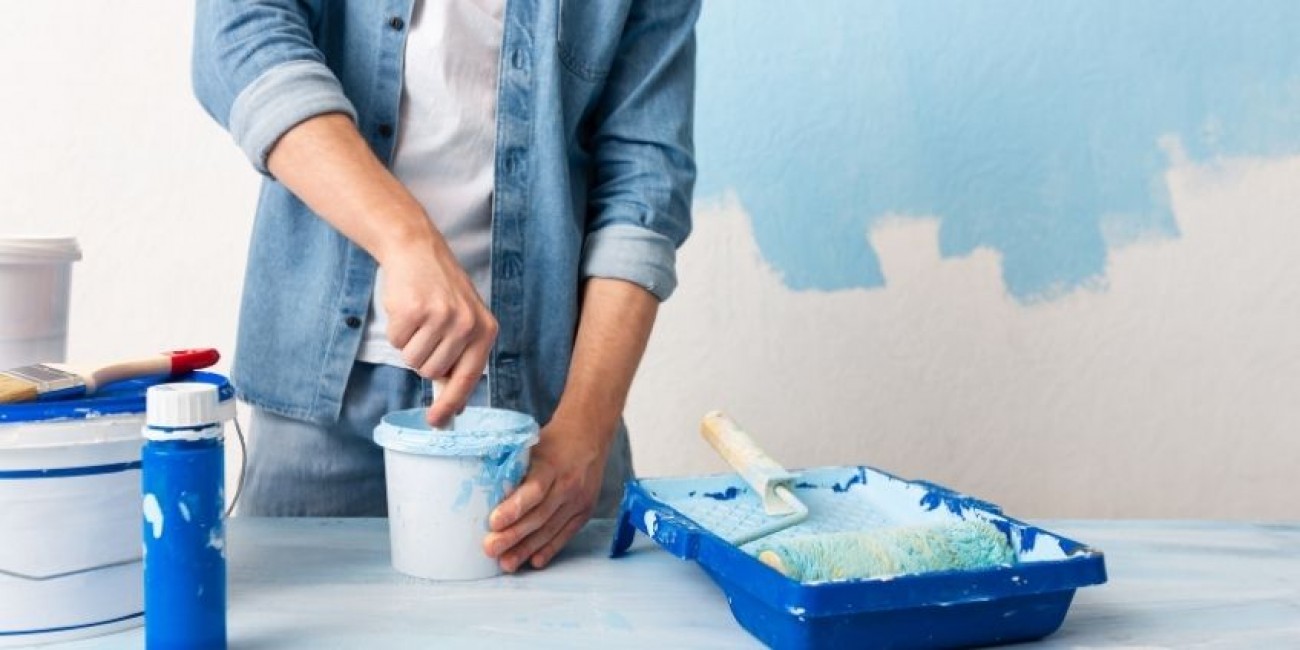
Many things come to mind when we think of the word “bubble.” We may think of whimsy, fragility, or evanescence. Rarely do we think of words like “destructive.” But bubbles can be destructive to a smooth, professional pant job. Fortunately, avoiding this decorating menace is as simple as learning how to eliminate air bubbles in paint.
During Painting
Watch Your Paint Environment
Often, the cause of bubbling in paint has nothing to do with the paint or the painter’s technique. It’s about the area you’re painting. A few examples of environmental factors that cause bubbling include:
- A dirty surface
- Moist or humid conditions
- An insufficiently sanded surface
- Plumbing issues
- Excessive heat
Preparation saves time in the long run. Taking the time to clean and dry your surface and refraining from painting on a hot day will help eliminate air bubbles in paint before they happen.
Stir Your Paint
If you’ve ever poured a liquid into a container, you may have noticed air bubbles trapped inside. Paints are far more viscous than water, but bubbles can still become trapped in a can of paint, especially when you stir or shake the paint can too vigorously. Use a painting stick to stir the paint at a steady pace, or use a drill at a low setting.
Allow Paint To Dry Completely Between Coats
Even novice painters know the importance of applying more than one coat of paint. It gives the room a more vibrant color and ensures a more durable paint job. However, be wary of rushing to apply a second coat after you’ve applied the first. If the first coat is not completely dry, it may create areas of trapped moisture that can turn into bubbles later.
After Painting
Repair the Paint
In many instances, paint bubbles appear on the wall or furniture after the paint has long dried. These bubbles tend to burst eventually, leaving unsightly cracks in the paint. To remove them, you must repair the damaged patches. There are several steps to this process:
- Take a scraper and remove the paint in the area where it has bubbled.
- Sand down places with loose paint.
- Clean the surface and allow it to dry completely.
- Apply a new layer of primer and allow it to dry.
- Apply a new coat of paint.
Whether you’re redesigning your room or upcycling an antique furniture piece, bubbles are the bane of every designer’s existence. That’s why ECOS Paints has a variety of interior and non-toxic* furniture paints to help ensure a smooth finish for your next project.
*Non-toxic: Conforms to ASTM-D4236, specifically concerning oral toxicity, skin irritation and respiratory effects.

