How to Safely Paint a Crib in 6 Simple Steps
Lullaby
11/05/2012
Want a one-of-a-kind, customized crib for your one-in-a-million beautiful baby? Re-painting a gently used crib can be an excellent, affordable option. (Bonus: it’s also eco-friendly since you’re re-using!) Here's how to safely paint a crib in 6 simple steps.
Before you dive into your DIY design project, consider these safety issues:
- The US Consumer Product Safety Commission advises against using cribs more than 10 years old. Visit their website to learn about crib recalls and regulations to ensure your crib is up to code.
- Test for lead in paint. You shouldn’t have to worry about this with cribs less than 10 years old, unless someone else has painted the crib using a very old paint. But, we always like to err on the side of caution (especially when it comes to our babies!), so we recommend picking up a test kit at your local hardware store and doing a quick swipe test. (While you’re at it, if you live in a home built before 1978, test painted walls, window sills, and door jambs, too.)
- Give it a good shake. If it rattles or wiggles too much, you may need to tighten things up a bit (or find a sturdier crib).
Once you’ve identified you have a solid, safe crib, here’s how to safely paint it:
Step 1:
Place a drop cloth on the ground outside or in a garage and secure each corner with a heavy object. Make sure that the crib is clean, dry and free of any loose dirt or grime.Step 2:
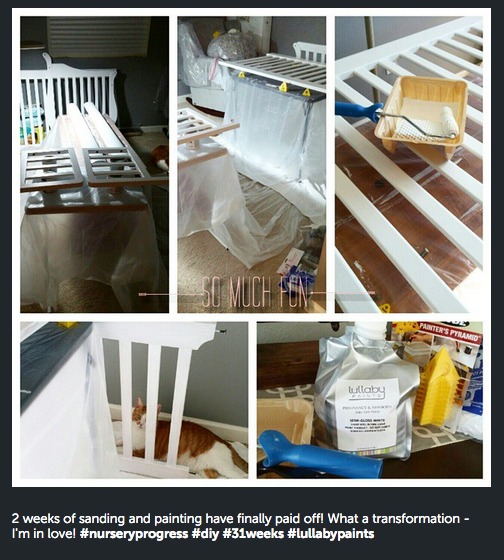
Disassembling the crib can help create a more professional looking finish, but it's not absolutely necessary. Lightly sand (scuff) all surfaces. Wear a mask to avoid inhaling the dust. You shouldn’t need to remove the existing surface, just roughen it up so the new coat of paint adheres properly. Usually a medium (180#) or fine (220#) grit sandpaper or sanding sponge is sufficient.
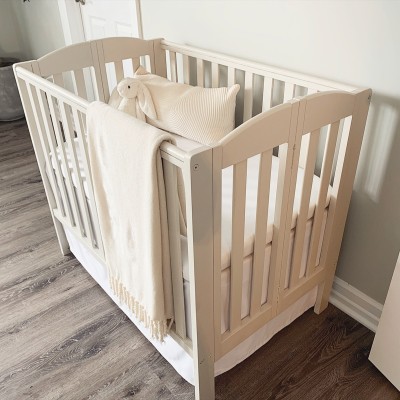
Photo via Jennifer Macker on Instagram
Step 3:
Remove any sanding dust with a tack cloth.Step 4:
Apply at least 2 coats of non-toxic* paint (waiting 4-6 hours in between coats). If you’d like to really customize the crib, consider painting your child’s name on it, a nursery rhyme or quote, stars, or any other design you’d like. Best results will come from using a good quality 100% nylon bristle brush (many people make the mistake of buying the best grade of paint they can afford and then using a cheap brush to apply it). *Conforms to ASTMD-4236, specifically concerning oral toxicity, skin irritation and respiratory effects.Step 5:
(This is actually a step you don't have to take.) When finished, it's not necessary to topcoat with a clear finish. A clear coat is not going to add any more benefits to the job than another coat of the paint will. If you've used a high-quality, non-toxic* paint (like Lullaby Paints), the finish should be very durable.Step 6:
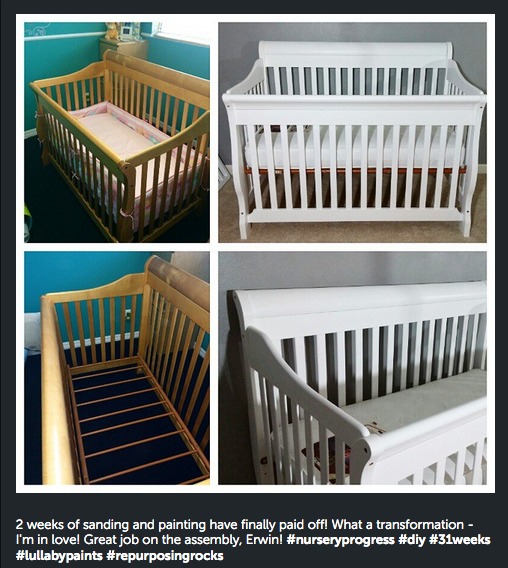
With non-toxic* paints, as soon as the final coat is dry, the piece can be put into use, and your baby can occupy the crib/room.
Photo via Jennifer Macker on Instagram
Note: Typically, a quart of high-quality paint will cover about 125 square feet. That allows for 60 +/- square feet per coat. A quart of a premium paint is usually plenty to paint the average crib twice, with enough paint left over for future touch ups. Need a little inspiration? Check out our Pinboard! Follow Lullaby Paints's board Creative Painted Cribs on Pinterest. Think you’ll tackle this DIY? We’d love to see pictures of your projects! Share them with us on Facebook or Instagram!