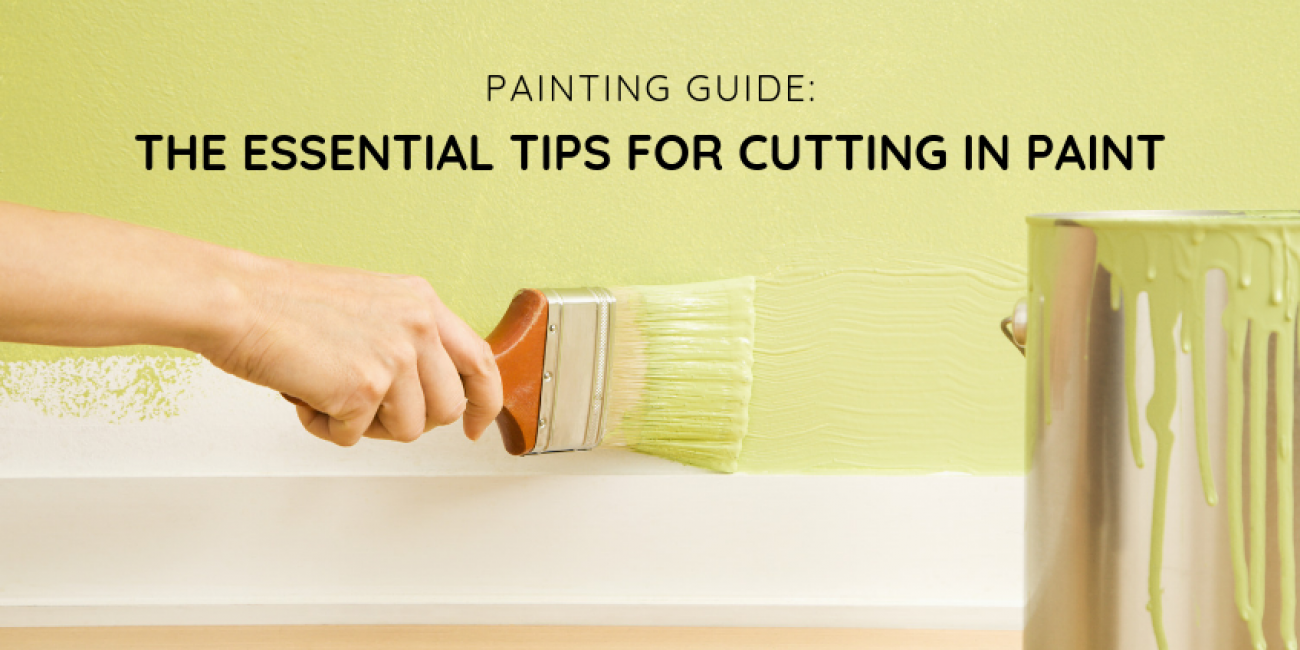
Painting Guide: The Essential Tips for Cutting In Paint
Tony 05/29/2024
Painting Guide: The Essential Tips for Cutting In Paint

One aspect of painting many people seem to have some difficulty with is getting even, clean lines without tape. A technique of painting called cutting in is used by professional painters to easily paint walls or ceilings. Cutting in paint can give you that solid, straight line with no tape necessary – if done well.

As a DIYer, this idea may seem intimidating, but it’s far from impossible. Mastering the art of cutting in paint means you can get right to painting instead of wasting time (and money) on painter’s tape. We’ll walk you through our tips for cutting in paint so you can feel more confident in your DIY painting skills (just like a professional painter).

Tools For Cutting in Paint

What You’ll Need

  • A high-quality, angled sash brush (2 ½ in.)
  • A cut bucket (like an empty paint can)
  • Premium wall paint
  • A putty knife
  • A damp rag
  • A good light source (i.e., natural light or an artist’s light)

Use an Angled Brush

Since your goal is to paint a perfectly straight line, you may be tempted to try a straight-edged brush. With the cutting technique, you’ll end up holding the brush at an angle, especially when you paint in a vertical line.

If you use an angled brush, you’ll find that it’s easier to paint more precise lines. When you’re first starting, you’ll want to grab a few different sizes of brush. We recommend a 100% nylon, 2 ½ inch angled brush as a good start.

Buy or Make A Cut Bucket

You may be tempted to just use the can that your paint came in when you’re first getting started. However, that can lead to problems when you’re trying to cut in paint, as it makes it difficult to really load your brush with the right amount of paint.

The solution? A cut bucket – an empty container with smooth edges (like a paint can with the lip removed) that lets you evenly coat your paintbrush. You can either make your own cut bucket at home by removing the lip of an old paint can, or you could purchase a ready-to-use bucket.

Purchase Premium Paint

Using premium paint (like our wall and ceiling formulas) means that you will get a long-lasting protective finish that is resilient to everyday wear and tear. Our formulas also get up to 1.5x the coverage of conventional paints, meaning fewer cans to get the job done.

All of our quality paints are also non-toxic and VOC-free, meaning that you do not need to sacrifice the environment and your health for premium paint. Our formulas still give you long-lasting, durable coverage without the harsh chemicals or odors found in conventional paints.

Use a Putty Knife and A Damp Rag

A putty knife and damp rag help you clean up mistakes easily and mess-free. When used together, a putty knife and a damp rag can help you clean up any mistakes or missed lines without impacting the rest of your paint job.

Have An Adequate Light Source

Using a natural light source or artist lamps lets you paint with greater precision. To improve your ability to paint without making mistakes, make sure you keep windows open and turn on all the lights in the space.

Pro Tip: If you have a headlamp made for hiking, wear it while you cut in! It’ll provide additional light for your workspace while keeping your hands free so you can get the job done perfectly.

How To Cut in Paint

Cutting in involves using a hand brush to paint the walls around your trim in straight lines without using painter’s tape. With practice, a steady hand, and our tips for cutting in will have you painting like the pros in no time.

1. Use Your Cut Bucket to Get the Right Amount of Paint

First, you’ll want to pour the paint into a smaller paint pail (like a cut bucket). Rather than dipping into the paint container itself, a paint pail will prevent you from dipping the brush in too deep and grabbing too much paint. You’ll want to pour only about an inch of paint into the bucket to prevent excess paint on your brush which can cause drips and lead to more mistakes instead of clean lines.

2. Pat the Brush, Don’t Wipe

After you dip into your bucket, resist the urge to wipe the paint off on the edge. Wiping the sides will remove the paint that is necessary for cutting in. Patting the brush on the sides of the bucket will get rid of excess, but still leave you enough paint to make a thick, clean line. This will also give you enough coverage before needing to refill your brush again, minimizing drips.

3. Wiggle into Tight Corners

When you reach a section on the wall that seems a bit tough to reach, vibrate your brush in the slightest to release extra paint. This paint will then filter into those small areas. It’s a great technique to fill into those tight corners without causing a mess or ruining your straight lines.

4. Work Up to the Line

When you cut in along any surface that requires a straight line, don’t go in for a perfect line right away. Instead, use a crescent motion to get the paint to the edge without getting super close. Start slightly away from the edge you need to reach, and as you paint, let your strokes get closer with each pass.

5. Cut in Quickly

One of the most important things you can do for yourself is to keep your hand steady and work quickly. Once you’ve done your crescent work and gotten somewhat close to the line, your second or third pass should cut all the way to the trim. With steady pressure, move your entire arm as you paint the line—this will keep you from moving too slowly or curving the brush in any way.

6. Clean Up Any Messes Quickly

A putty knife and damp rag are the tools to help you clean up mistakes easily and mess-free. Wrap the damp rag once around the putty knife and slide it along any mistakes. This wipes off the excess and ensures another clean line, without affecting your hard work. Make sure to do this right after the mistake is made or else you’ll have to be more aggressive with your clean-up which could cause more mistakes.

Learn Other Painting Techniques With ECOS Paints

Mastering the art of cutting in paint is a skill that can elevate your DIY painting projects to a professional level. With the right tools and techniques, you can achieve clean, straight lines without the need for painter’s tape. By using high-quality angled brushes, a cut bucket for precise paint loading, and premium non-toxic paint from ECOS Paints, you'll be well-equipped to tackle any painting task.

Ready to explore more wall painting techniques? Visit the ECOS Paints blog for additional tips and inspiration. Elevate your DIY home painting projects with ECOS Paints today.

CATEGORIES DIY Projects Tips & Tricks

COMMENTS

LEAVE A COMMENT ON THIS POST