Simple DIY Chalkboard Clock for Baby Nursery
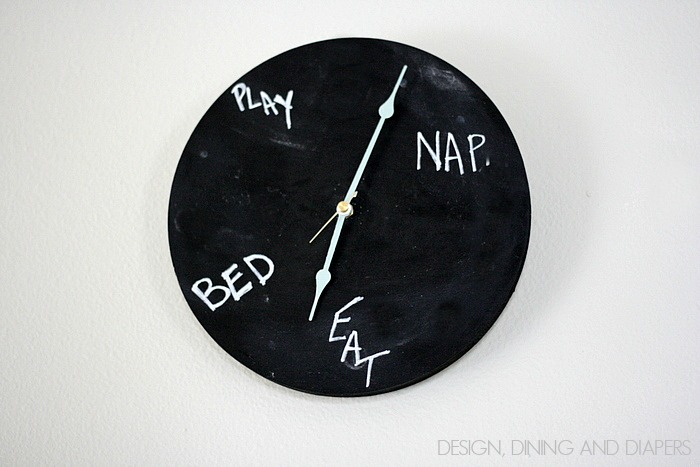
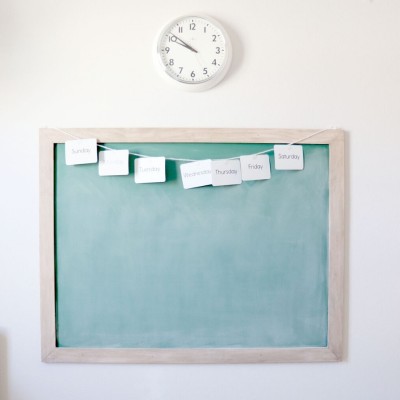
We all know babies have a schedule of their own, so why not create a clock that adapts to their schedule? Inspiration for this super cute and easy project comes from The 36th Avenue (which is an amazing blog containing loads of home decor tips, kid crafts, recipes, and so much more!). Get started with your DIY chalkboard clock by using the tips below.
Supplies:
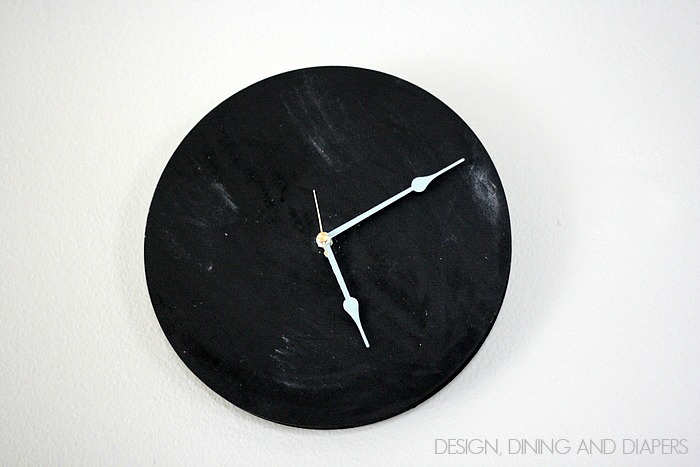
Step 1: Paint the wood base with chalkboard paint. We recommend using Lullaby Chalkboard Paint! It’s non-toxic** and zero VOC*, meaning you don’t have to worry about any nasty paint fumes in your baby’s nursery. Who says you have to use black either? We have a huge selection of chalkboard colors to choose from.
Step 2: Once the paint dries, install the clock kit. Just make sure you be careful what kit you buy because the clock hands come in different sizes.
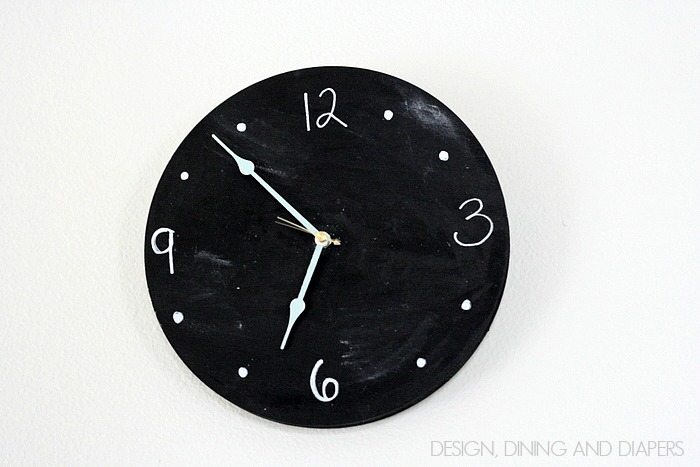
Step 3: Have fun with your new clock!
*Conforms to CDPH 01350 (VOC emissions test taken at 11, 12, & 14 days for classroom and office use). Learn more about VOCs and our commitment to healthier paints here.
**Conforms to ASTMD-4236, specifically concerning oral toxicity, skin irritation and respiratory effects.
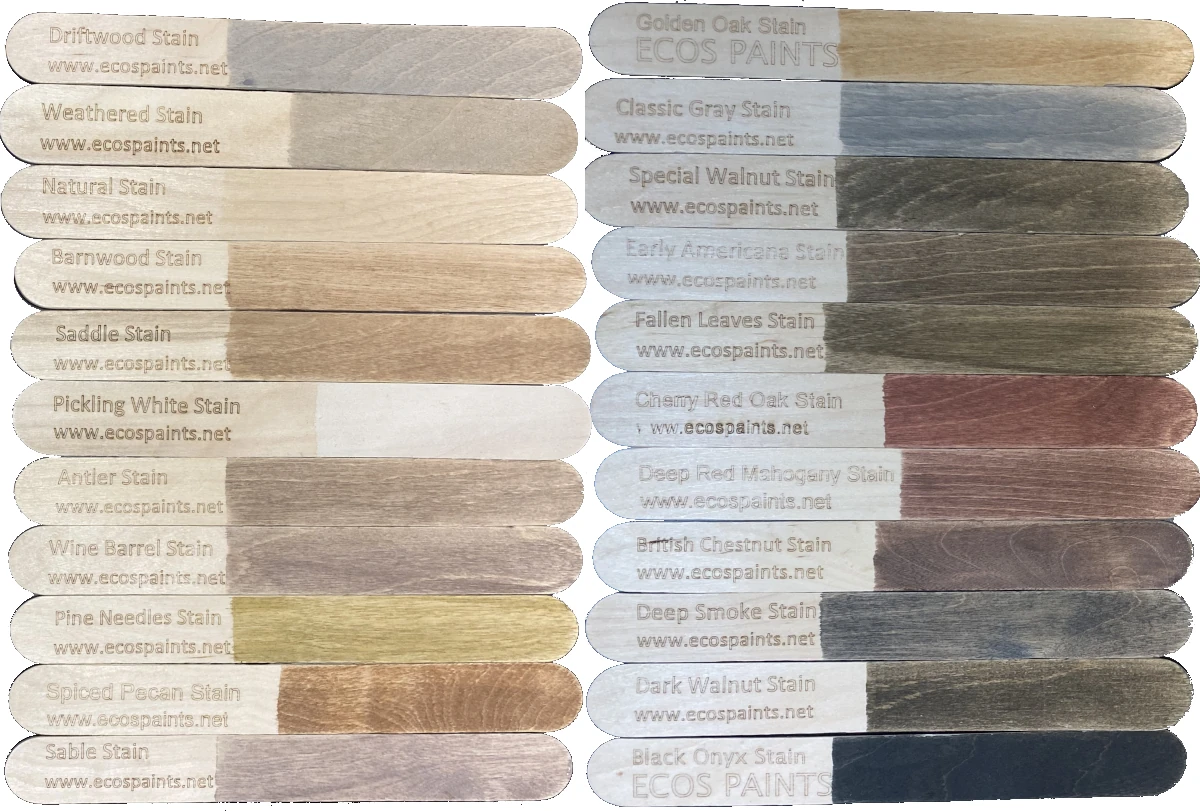
Ready to tackle this quick and easy project? Order some free color chips to get some ideas for what color you want your clock to be!

