8 Bathroom Painting Tips You Should Know
You can take on tons of different projects in your home. From getting rid of clutter to completely finishing your basement, these projects can range from big to small, finished in a short time or span a few weeks. Either way, these projects provide you with an opportunity to delve into your creativity and have your home match your personality.
Rooms that can often get forgotten are the bathrooms. It seems much easier to take on a project like the living room—there’s minimal effort and you get a wonderful payoff. When it comes to the bathroom, however, you must pay special attention, as you’ll have to paint into smaller crevices and around more appliances. That said, just because its more effort doesn’t mean the payoff isn’t worth it. In fact, when you take on this project and follow these bathroom painting tips you should know before you begin, your bathroom may just become your favorite new space in the home. Take a look at what you need to know and what you should complete to have a successful bathroom painting experience!
Ensure You Have the Right Supplies
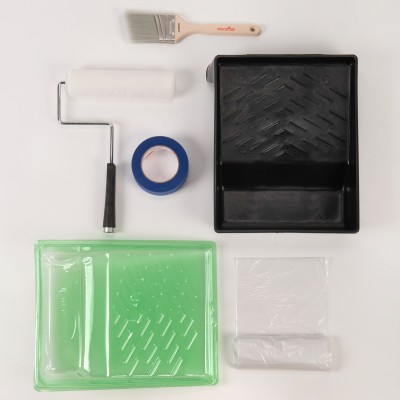
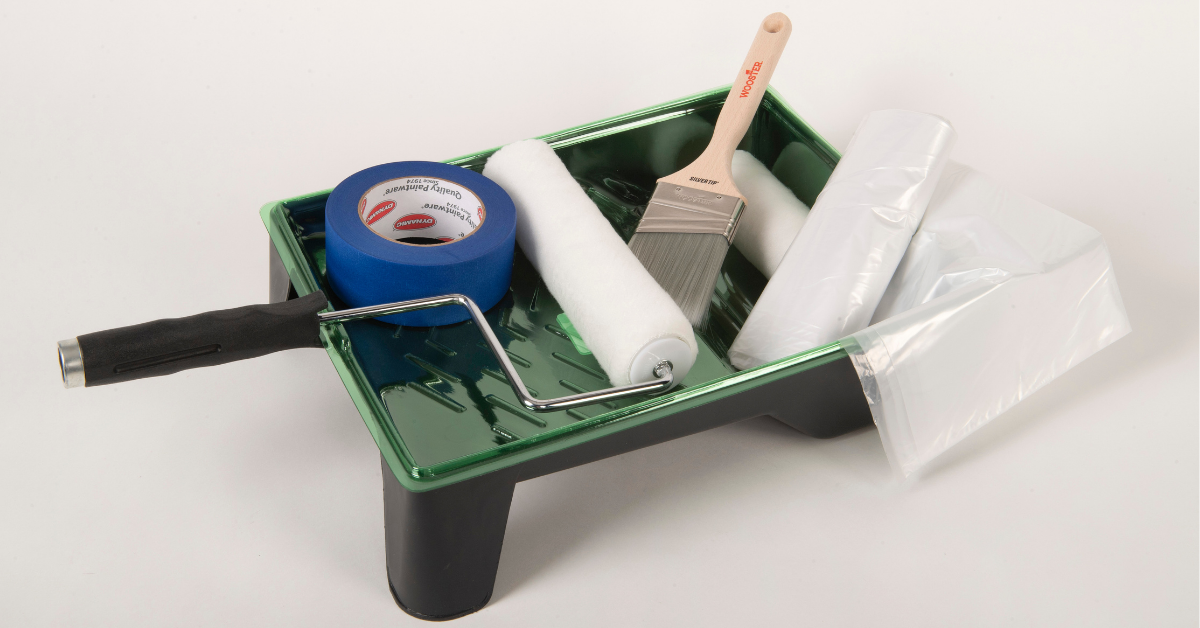
Now, this isn’t quite a tip as it is a necessity for a successful project. Bathroom painting supplies are a bit more in-depth than those you need for wide open spaces. Like we mentioned above, the bathroom has a lot smaller, tighter spaces. These spaces will require smaller brushes and a more refined touch. Then you add in the toilet, the sink, the bathtub, the outlets—all these are things you’ll have to either remove or paint around. That said, here’s a list of typical supplies you’ll need to paint your bathroom:
- Paint roller and roller cover
- 2-inch sash brush
- Paint tray and liner
- Painter’s tape and plastic sheeting
- Various screwdrivers
- Primer or self-priming paint from ECOS Paints
- Interior paint from ECOS Paints
Try Out Samples Before You Delve In
Once you ensure that you have the right supplies, you’re still not quite ready to crack open the paint can. In fact, you’ll want to spend quite a bit of time choosing the right paint color for your bathroom. These small rooms aren’t meant to be painted every year, so you need to pick a color that you think you’ll like for a while. You don’t want to paint an entire wall only to realize that you don’t like the color.
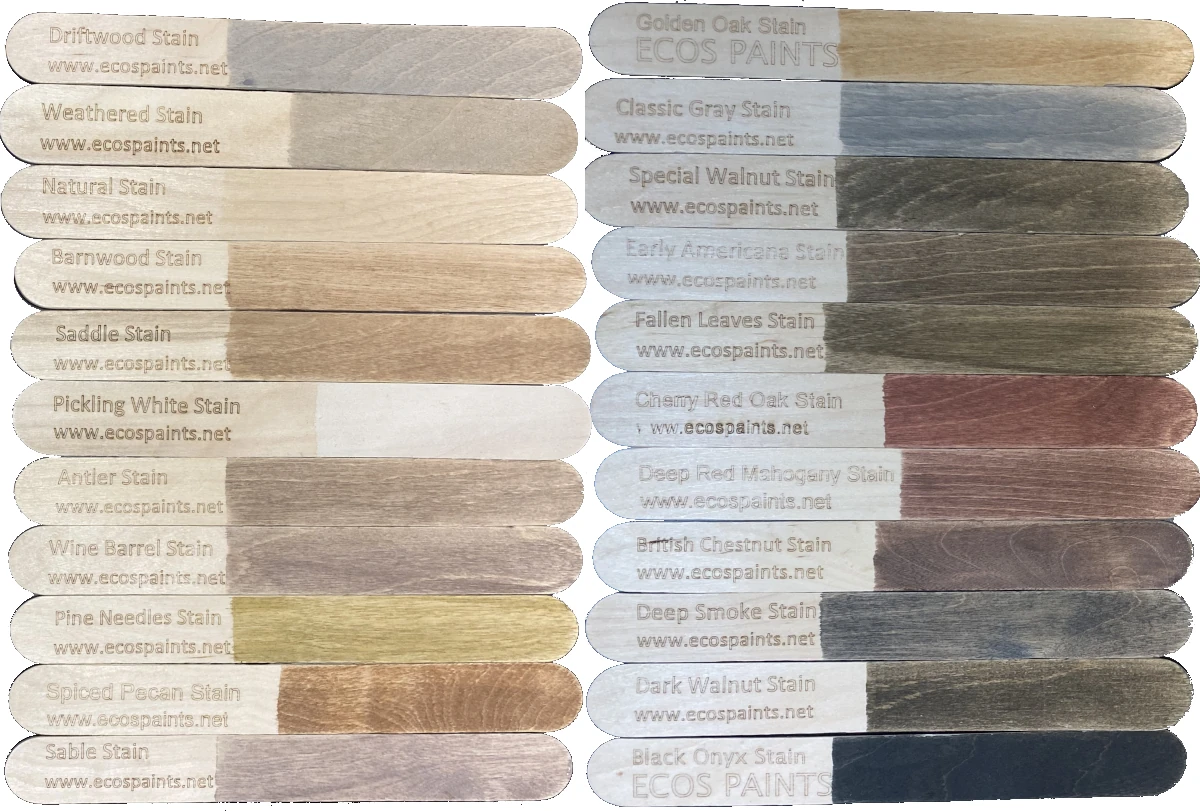
Try out different colors on your bathroom wall. If you have a color in mind, try a few different shades to see which works in your space and with your bathroom's specific lighting. Does the color fit with your fixtures? Does it soothe you, or does it overwhelm you? Test a few colors and decide from there!
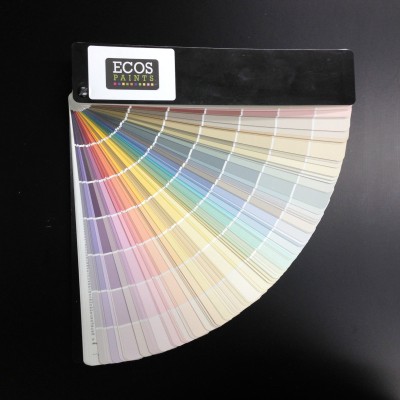
At ECOS, we have a wide variety of paint colors and samples for you to choose from. Our color library seemingly has no end, so we can provide you with the right shade your bathroom needs. Take a look at our free color chips, and purchase samples to try out at home. We want to make your painting process as seamless and stress-free as possible—turn to us for your bathroom paint color needs!
Clean All Surfaces
It is still not quite time to paint. Just like any painting project, you want to ensure that you put the paint on a clean surface so that the paint doesn’t peel, chip, or wear down. This is especially true in the bathroom, as bathroom walls get pretty scummy and dirty. If you don’t clean that off now, it will come off at some point and take your new paint with it. Reach for eco-friendly cleaning products that won’t interfere with the air quality in the home and will ensure a clean and safe area for your paint project.
This is also the time to fill any cracks or holes in the wall, and you’ll want to sand those down. Make sure that after you sand that you clean those areas as well!
Remove All Hardware
Once you clean and remove all that dirt and grime from the walls, you’ll want to remove all the hardware from the room. That means outlet covers, light switch plates, mirrors, towel racks, and any other items that you can remove relatively easily. Clear out wall art, shelves, window treatments—anything that can get in the way should be removed from the small project space you have.
In a bigger sense, you’ll also want to see if you need to remove the toilet from the bathroom. One of the most stressful aspects of painting the bathroom is painting behind and around the toilet and toilet tank. That narrow crack between the tank and the wall is so small, so it’s probably just easier to remove the obstruction from your project space.
If you're unable to remove your toilet, it's still possible to paint behind and around. For this, you may need to spend a little extra time preparing by covering the toilet and taping around the base. Lastly, for the area behind the toilet, you'll want to use a smaller roller or paint brush - one with a long, skinny handle will work best. With smaller tools, it will be easier to reach where you need to with only a little extra hassle.
Tape Off Areas You Won’t Paint
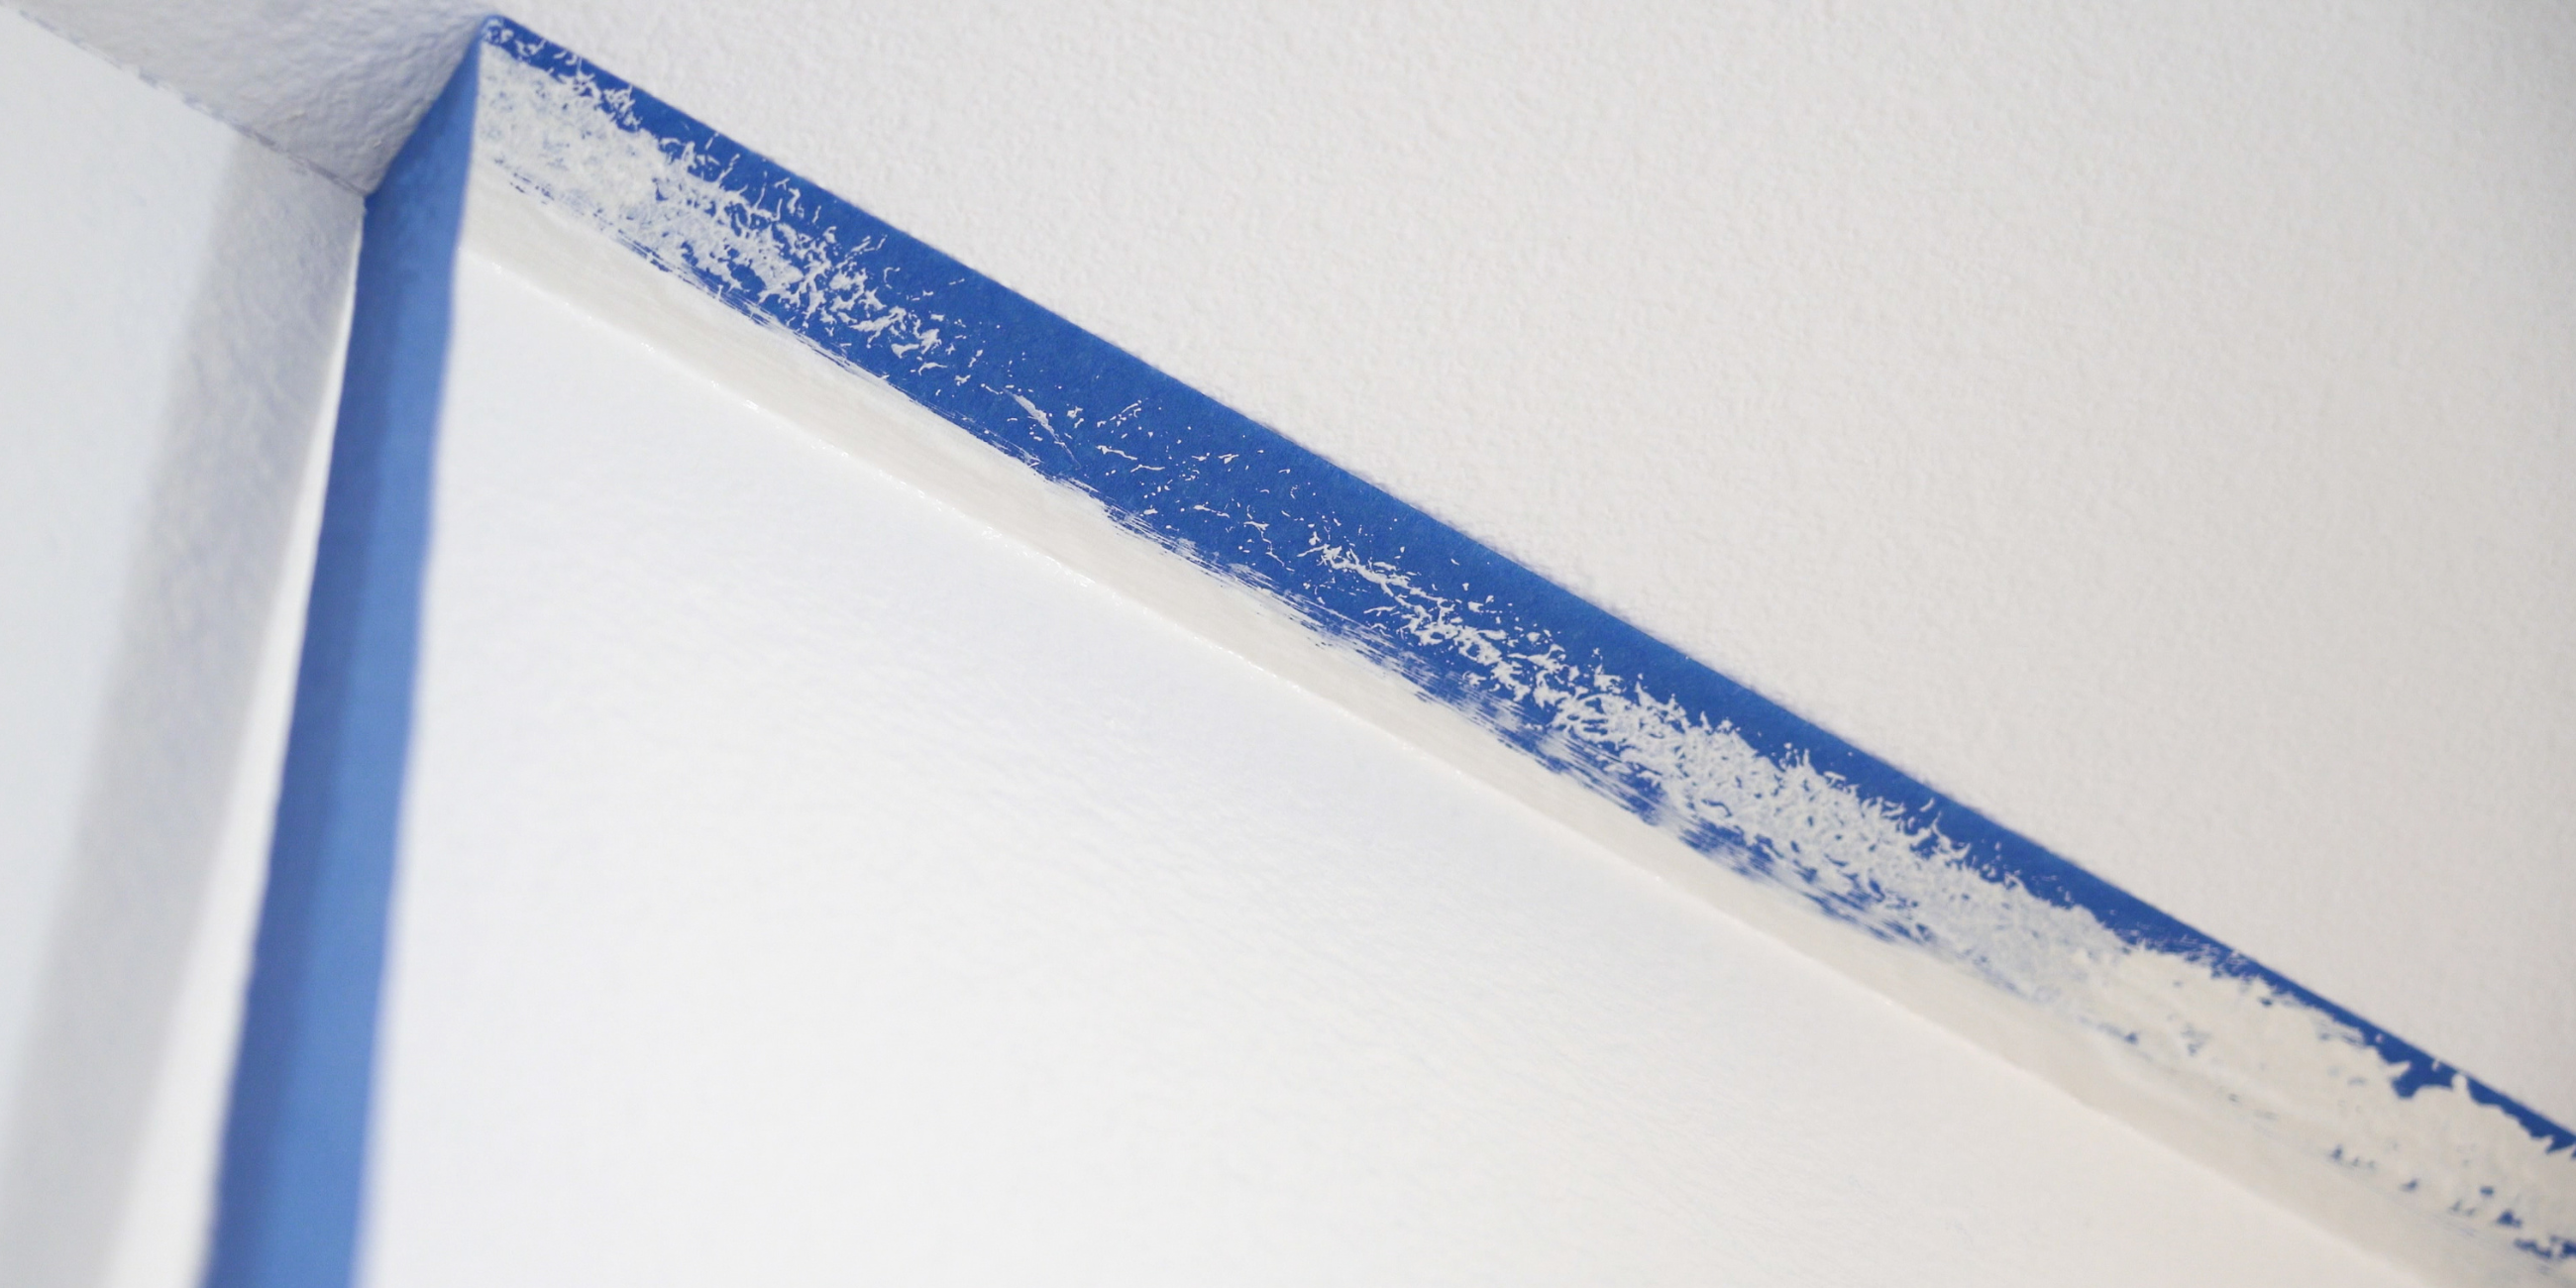
This is your typical painting note, but it can be even more useful in bathrooms. Like we said, your bathroom is probably much smaller than other rooms in the house, and they typically have a lot more within in them to paint around. Anything you couldn’t remove from the walls should get taped off. Tape around the bathtub, around the sink, and other places you can’t remove. If you will not paint the ceiling, tape around the ceiling as well to ensure clean lines.
Prime Before You Begin
You’re getting closer to the actual painting of the bathroom, but make sure you prime the walls before you begin. Though it’s not as important to prime bathroom walls as it is to prime other walls in the house, such as the kitchen, it will still make your paint job seem more professional and complete. Especially if you switch from a darker color to a lighter shade, you’ll definitely want to choose a solid primer that can stand up to the test.
We recommend either using our air purifying primer or our stain blocking primer if you notice the bathroom tends to get quite dirty. ECOS primers provide an excellent bonding layer for our paints, meaning you’ll get a bathroom painting job that guests will think is professional!
Cut In Before You Fully Begin
Just like it’s important to tape off those intricate areas, you’ll also want to cut in to ensure clean lines. Typically, when you cut in, you wouldn’t have to tape, but since you have to deal with a smaller space, you’ll want to pair both safety paint tips. Take a look at our tips for cutting in paint!
Paint the Ceiling the Same Color
Here's a must-know tip for painting a small bathroom or powder room. If your bathroom is a small space and you want to make it seem bigger, extend your paint color all the way up through you ceiling. When you leave the ceiling a different color than the walls, you can cut off the height of your room. Make your space seem bigger and paint the ceiling the same color!
These are some of our favorite bathroom painting tips we think you should know. When you follow these, you’ll be that much closer to a pristine paint job and the updated bathroom of your dreams. For all your painting needs that extend further than the bathroom, you can still look to ECOS Paints. Our paints are better for you and the environment, meaning that when you purchase one of paints, you can feel good about bringing ECOS into your home.

RELATED PRODUCTS
Eggshell Paint
Eggshell Paint is a low to medium sheen, protective finish that dries to a hard, durable, film. Ide...
Semi-Gloss Paint
Semi-Gloss Paint is a medium sheen, protective finish that dries to a hard, washable, durable film. ...
All-in-One Painter's Kit
Our All-In-One Painter’s Kit includes all the essential tools for your upcoming painting project. Ge...
Color Fan Deck
The Color Fan Deck lets you review all of the 1300 ECOS colors in your own space. Please note that t...

