A Beginner’s Guide to Painting Furniture
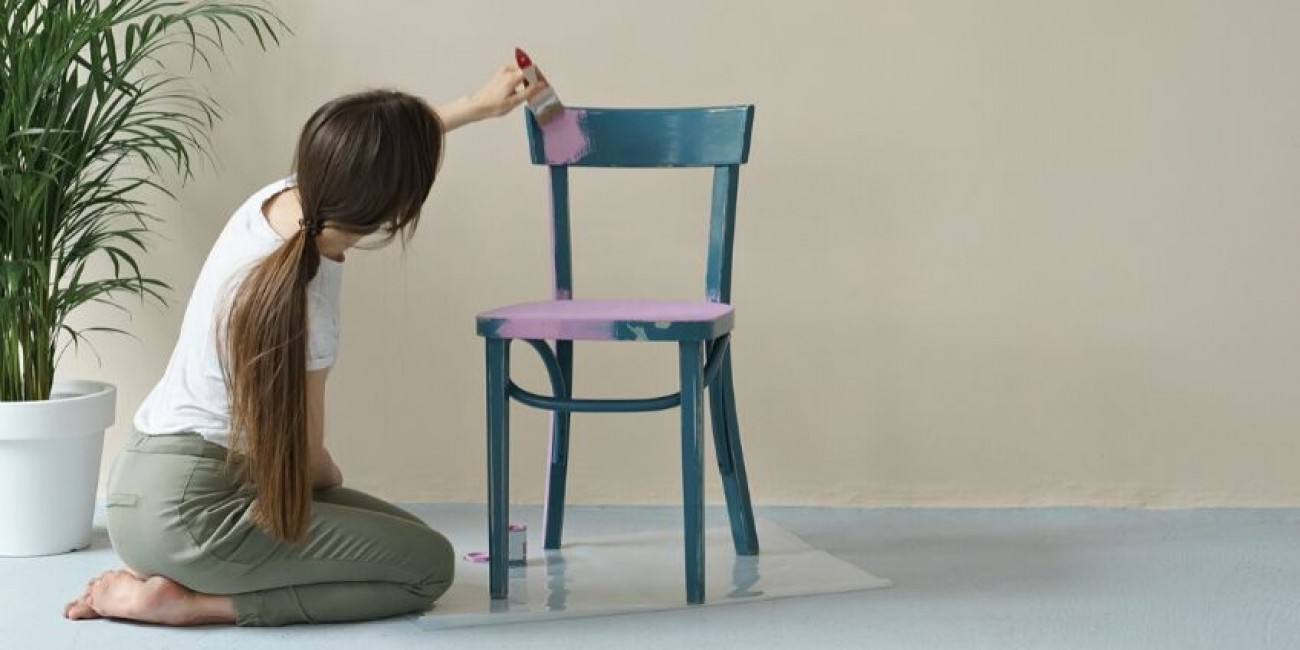
Tired of looking at that chipped paint on your mom’s old side table? Have a few furniture pieces that need sprucing up? If that’s the case or even if you’re just curious about different ways to update, then you should think about painting your furniture. Give your older furniture pieces new life and take a look at this beginner’s guide to painting furniture. We’ll delve into proper sanding techniques, painting tips, and more! Take a look below so that your next furniture painting project looks professional.
Project Supplies
Before you begin, you have to make sure that you have all the right supplies. Nothing’s worse than starting your project just to find out that you don’t have any more sandpaper or that you’re all out of primer. A project like this takes careful attention to detail, so ensure that you take the time and get the best supplies you can. Here’s a list of some of the basic equipment you’ll need to paint your furniture like a pro!
- Wood cleaning products
- Clean, dry rags
- Screwdriver
- Wood filler
- Putty Knife
- Medium and fine grit sandpaper
- Wood primer
- Quality paint sealer
- ECOS paint of choice
- Paintbrush
- Tack cloth
Step One: Prep Your Piece
Once you’ve gotten all your supplies in order, then it’s time to get started. As you do for any project, you’ll need to prep your workspace before you begin. This means laying down tack cloth—even for the small pieces; it’s messier than you’d expect, so you need to be prepared. Once you’ve done that, you can delve into actually prepping the piece for paint. Below are the main steps that must be completed.
Remove hardware, doors, and drawers
You want your piece to be as smooth as possible before you begin painting, so your first step is to remove all hardware, doors, and drawers. Painting around or over these things will make your paint job look messy and uneven.
Scrape away peeling veneer
If the furniture you’re working on is badly damaged, then you’re going to want to scrape away any of that peeling veneer. Like we said, you want a smooth surface to work on, so those old imperfections need to be scraped away.
Press wood filler into damaged wood and old knob holes
Though they may seem small, those damaged spots—whether old knob holes or uneven surfaces—need to be taken care of before you begin. Just as you fill holes and cracks before you paint a wall, you need to use wood filler to cover up imperfections and then level it out. Once it dries, sand it down to match the rest of the piece.
Clean it up
And finally, you need to make sure to clean your piece before you begin. Wipe down all dirt and grime with a natural wood cleaner—this will give you a fresh base to begin your work.
Step Two: Sand Away Imperfections
Once you’ve done the prep work, you need to sand down the furniture. You want any glossy finish off the piece so that the paint has a slightly rough surface to adhere to. Medium-grit sandpaper typically does the trick for this first layer of sanding. You need to only remove the glossy finish, not strip it down to the bare wood.
Step Three: Prime Your Base
After sanding away those imperfections, you’re ready to prime the piece. Sanding can be quite the mess, so make sure you wait to prime until after the dust has cleared. Once it has, you’ll want to use a quality primer, like our ECOS wood primer. Ideal for your furniture painting projects, our primer ensures a strong bond to make your painting professional. Priming in general is a necessity for a clean finish as it will cover any stains or discolorations in the wood—but make sure to let this dry completely before moving on to the next steps.
Step Four: Lightly Sand Again
Now this step isn’t necessary if you’re in a rush, but it will give you that smooth surface you’re looking for when you paint. Sanding again after priming will help you attain a professional and even finish. However, instead of using the medium-grit sandpaper, you’ll want to use a fine-grit paper because you don’t want to get rid of that prime you just applied. Wipe off the sanding dust with a tack cloth before you begin painting.
Step Five: Paint Your Masterpiece
Finally you’ve made it to the fun part! Now the type of paint you choose is up to you and depends on the sort of finish you want your piece to have. At ECOS Paints, our VOC-free cabinet and furniture paint comes in a variety of finishes and colors, so you know you’ll find exactly what you’re looking for. Choose from semi-gloss paints to the high sheen of a full-gloss paint, and then pick the shade that works best for you. Typically, it’s better to choose a paint that doesn’t have a flat finish, as they will show more flaws and be harder to clean—the glossier the finish, the easier to clean.
When it comes to your actual painting technique, make sure to paint thin coats! This is the biggest tip we can give you and helps ensure an even finish. You should also make sure to lightly sand between each dried coat of paint as well. When you’re painting, use a small foam roller on the main parts of the furniture and a small brush for those hard-to-reach crevices.
Step Six: Seal the Paint
Once you’ve done two to three even coats of paint, you’ll want to seal your piece. You need to wait at least 24 hours for the paint to dry before completing this step, but once you do, you’ll choose between two main sealing processes: use furniture wax or apply a clear finish. Choosing one of these processes will provide extra protection for your finish.
Step Seven: Replace Hardware
Your last step is simple—replace the hardware, doors, and drawers that you had removed. Or choose updated hardware to further enhance your new piece of furniture!
Quick Furniture Painting Tips
- Use high-quality brushes
- Use the right primer
- Cut in at all edges and corners of the furniture
- Allow your piece to fully dry and harden before use
- Understand that quality paint will make for a better project
The ECOS Paint Difference Matters
To reiterate, quality paint will give you a better finished product, and if you need quality paint, turn to ECOS Paints. Our paints will take your project to the next level and ensure success. We provide health-focused paints to eliminate harsh chemicals and nasty odors—so not only will your project look great, but you’ll enjoy the process as well. For all your painting needs, turn to ECOS Paints You won’t regret it!


