Caulk 101: Why, Where, and How to Use it
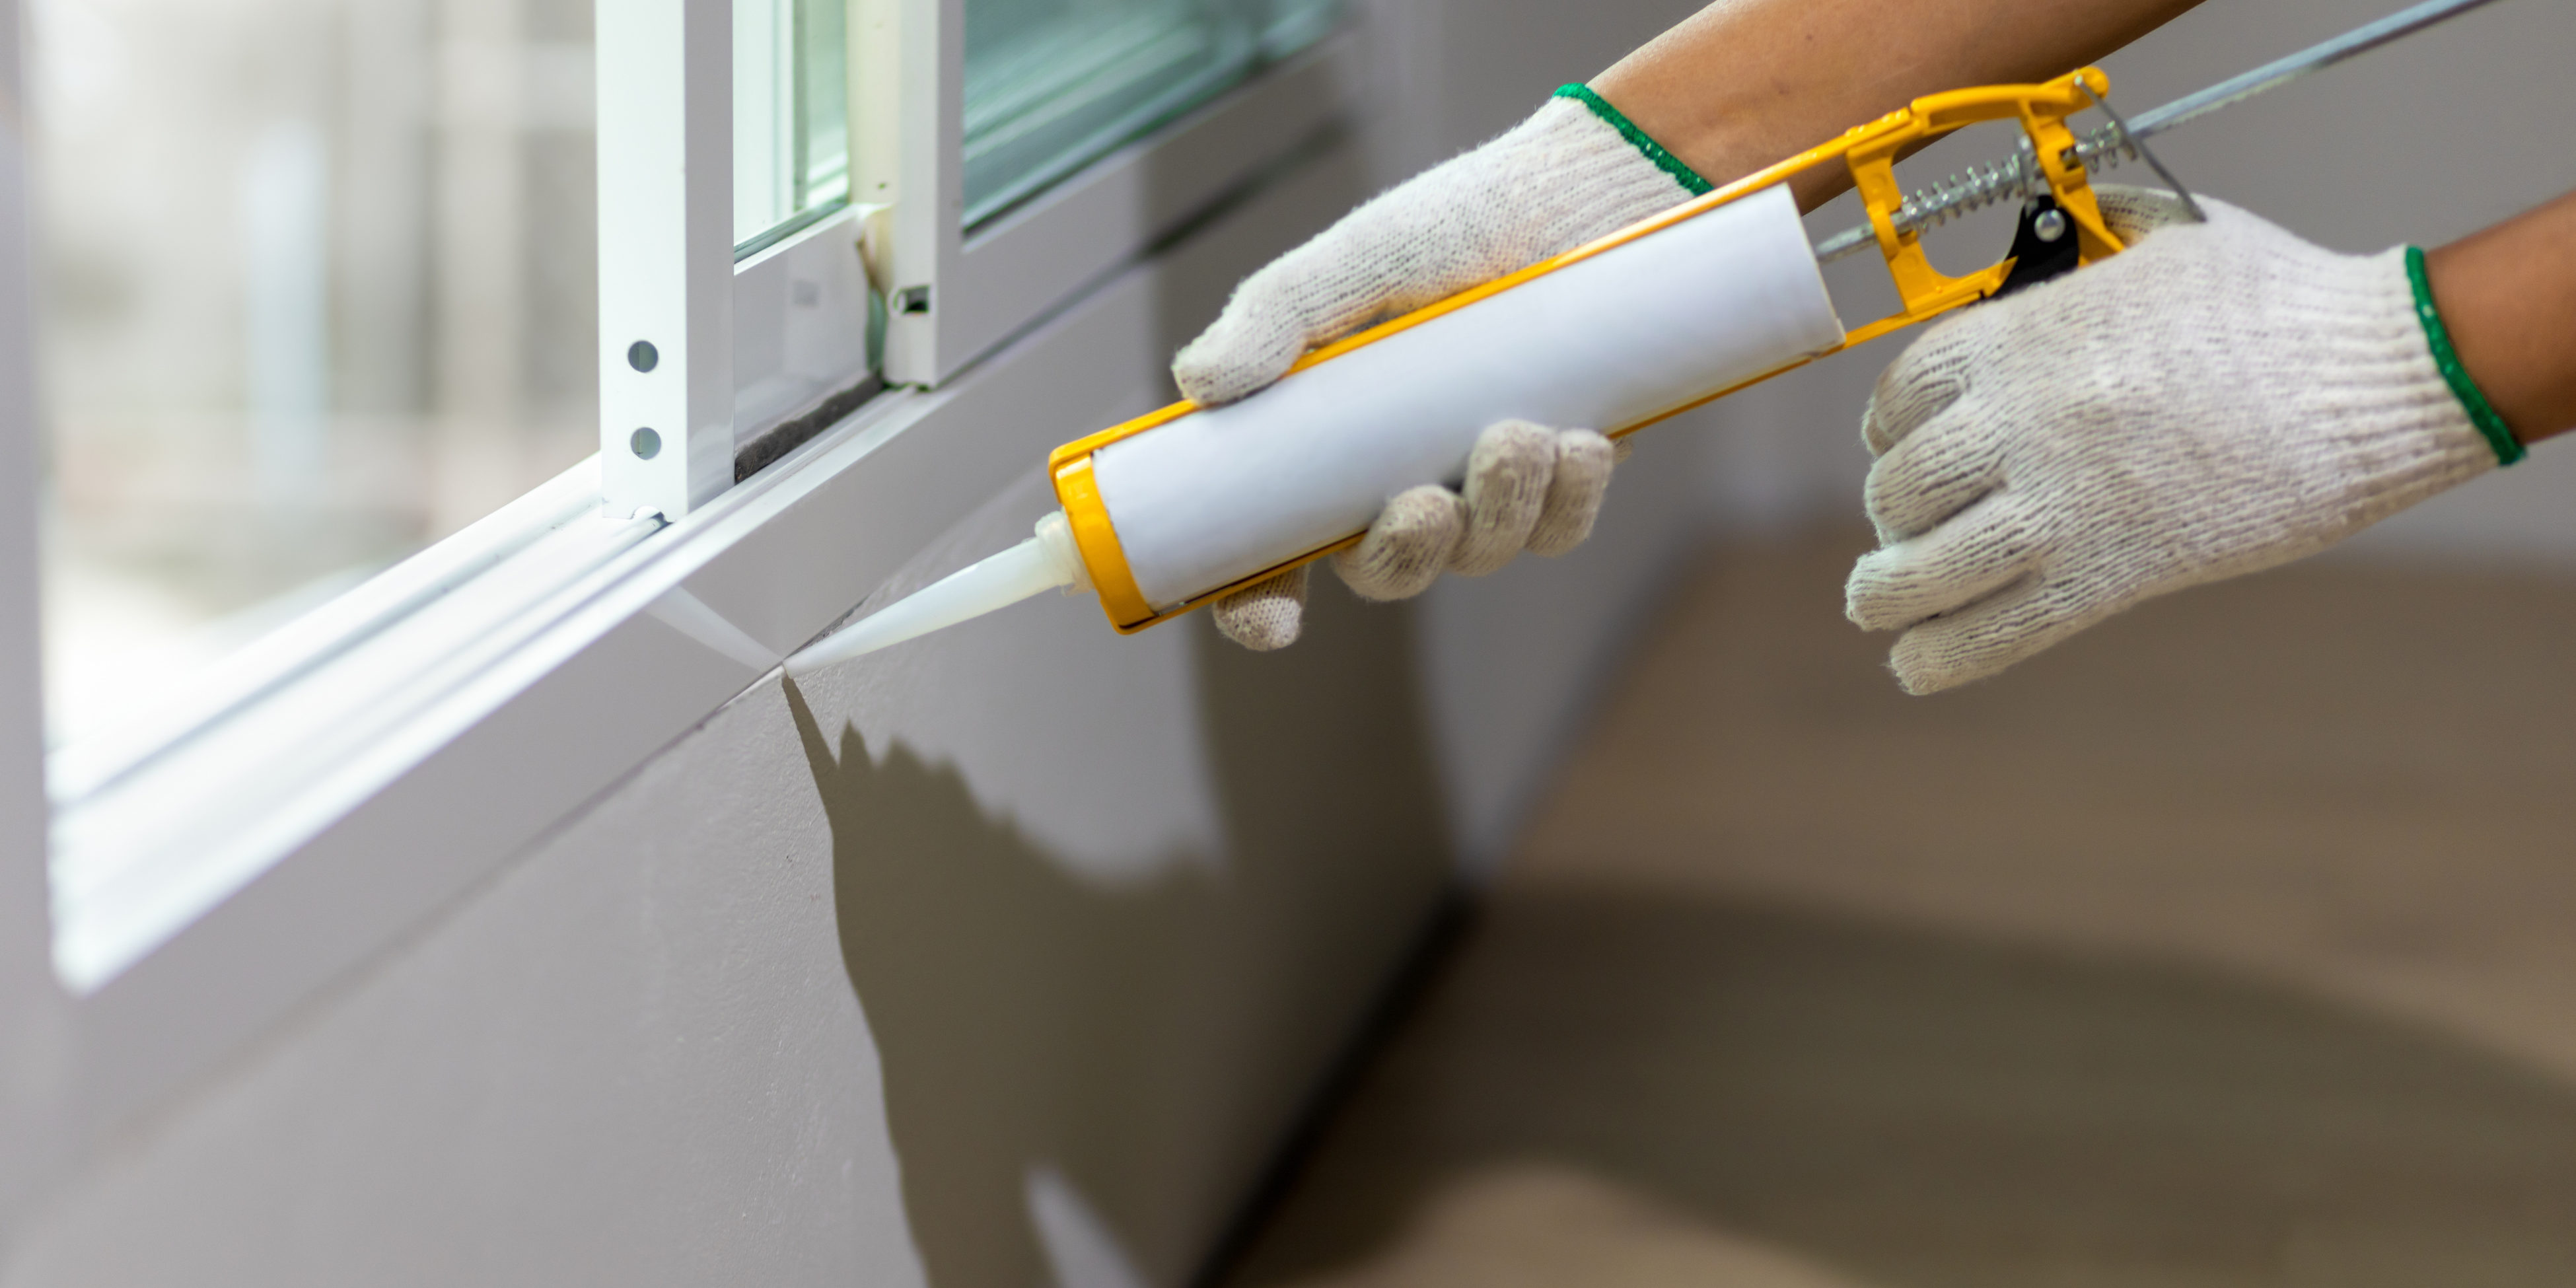
Caulk is a moldable material that's used to fill in and seal gaps throughout a structure. It usually comes in 10-ounce tubes and is applied by using a caulk gun. There are many different kinds of caulk, but we're going to be focusing on the latex type because that's the most paintable. Silicone-based caulk is good for weatherproofing around doors and windows, but you can’t paint over it. Check the information on the outside of the tube to see if a certain type of caulk is paintable. How do you know when you need to use it, and what benefits are there to including it in your paint job? In this caulk 101 we will explain everything you need to know about caulk and how to get the best results from it for your next DIY project.
Why Use Caulk?
The best answer for why to use caulk is that houses shift, breathe, and move through the years. You may notice that the molding around a doorway sticks out from the wall by an eighth of an inch. This small gap would be caulked if you were painting the trim so that it appears that it's attached to the wall perfectly. Another example might be the trim around a window. If the boards aren't meeting at a perfect joint, then caulk can be used to mask that small error in carpentry. Another important benefit from using caulk is to seal up sources of drafts. Small gaps around windows and doors can really let the cold in, especially in the wintertime and colder climates.
Where Should You Use Caulk?
Any baseboards, trim, or moldings that are going to be painted will look better if you use caulk at their joints or where they meet the walls. The caulk will give a smoother, more uniform finish to all painted trim, and will give your paint job a much more professional appearance.
How Do You Use Caulk?
Follow this step-by-step guide to using caulk for your next project.
- The 10-ounce tube of caulk has a pointed tip. Use a utility knife to cut the tip diagonally at the very end. You want the hole to be small, so don’t cut too far down where the opening gets wider.
- Now you need to poke a hole in the tube of caulk, or it won’t come out. There's a small piece of wire on the caulk gun that swivels out from below the shaft. Take this piece of wire and insert it through the tip of the caulk until you feel it puncture the tube. Do this a few times. Wipe off the wire when you pull it out, or you'll get caulk all over your hand while you are using the gun.
- Put the tube of caulk into the shaft of the gun and pull the trigger until you feel it meet some resistance. Place the tip of the tube on the crack you want to fill and gently pull the trigger of the gun as you pull the tube across the crack. You want a small, thin, uniform line of caulk over the surface of the crack. You should be continuously moving the caulk gun, not staying in one spot. You don’t want a large blob of caulk in one area.
- Next, use your finger to lightly smooth the caulk into the crack. Go one direction, pulling your finger across the surface of the baseboard. Wipe the excess caulk off your finger with a paper towel or wet rag. This may seem messy at first, but it won’t take long until you know how much pressure to put on the trigger of the caulk gun to get the right amount of caulk out, which will decrease the excess coming off onto your fingers.
- Wash your hands with soap and water when you're finished. Depending on how much caulk was used and how big the gaps are that you are sealing, the caulk should be dry after a couple of hours. If you're in a rush, it's possible to paint over wet caulk, but it will look best if you give it time to dry.
Here's a short video that shows how to caulk.
Caulking is a relatively easy painting skill that should make a vast improvement in the quality of your paint job. We highly recommend you don’t skip this step the next time you're painting a room. We hope that this post helps you feel more confident about trying to use caulk if you never have before. Check out our water-based trim paints for the perfect topcoat to use after your next caulking project!
RELATED PRODUCTS
Gloss Paint
Gloss Paint is our higher sheen, hard wearing protective finish that dries to a hard, washable, dura...
Semi-Gloss Paint
Semi-Gloss Paint is a medium sheen, protective finish that dries to a hard, washable, durable film. ...
Universal Primer
Universal Primer is a strong bonding primer for use on most surfaces. It is also effective at coveri...
Wood Primer
Wood Primer provides a strong bonding surface for paint and adds an extra layer of protection to you...


