How to Prep Your Walls for ECOS Paints: A Step-by-Step Guide
When it comes to achieving a perfect paint job, the importance of surface preparation cannot be overstated. Before you even open that can of ECOS Paints, your walls need to be in the best possible condition. Let's dive deeper into the essential steps for preparing your walls.
1. Evaluate the Surface Being Painted
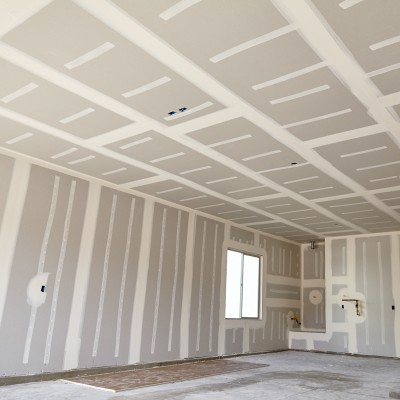
Before painting, it is vitally important to understand the nature of the surface being prepared and how to transform it into a perfectly uniform surface. This includes evaluating what is already on the wall so that appropriate preparation steps can be taken. For example: is it a bare substrate, has it been previously coated and, if so, with what type of product? Each existing coating requires specific preparation, there is no “one-size-fits-all” solution. An existing oil based finish needs special coatings, textured surfaces require particular attention, and bare drywall demands drywall primer. Each of these variants needs to be treated differently but, for a “standard” surface, previously painted with a water-based paint, the following steps should be taken.
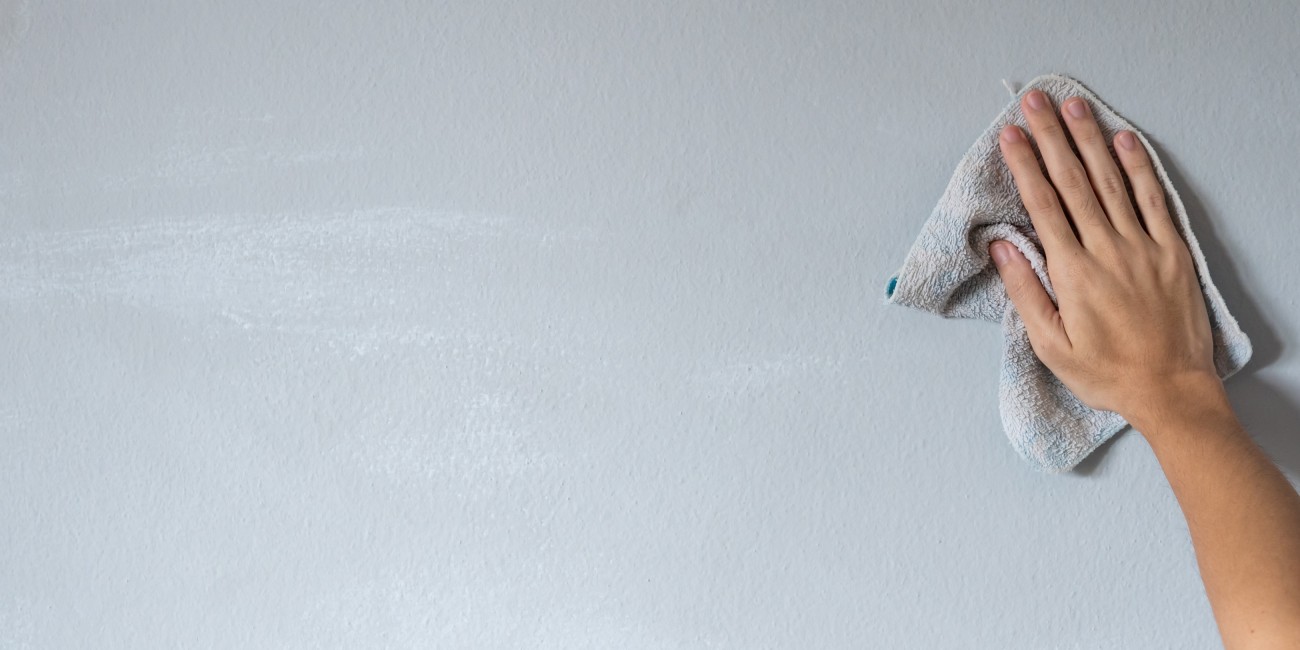
2. Clean the Walls
Dirt, grease, and other residues can impede the adherence of paint to a wall. Cleaning ensures that your paint adheres correctly and looks smooth.
Instructions:
- Start by dusting the walls with a soft cloth to remove loose dirt.
- Wipe down the walls with a damp cloth, making sure to wring out excess water to avoid water damage.
- For stubborn stains or grease spots, mix a mild detergent with water. Apply it gently in a circular motion, then rinse with a clean, damp cloth.

3. Repair Damaged Areas
Even minor wall imperfections can become glaringly noticeable after painting. Ensuring a smooth, uniform repaired surface will enhance the paint finish.
Instructions:
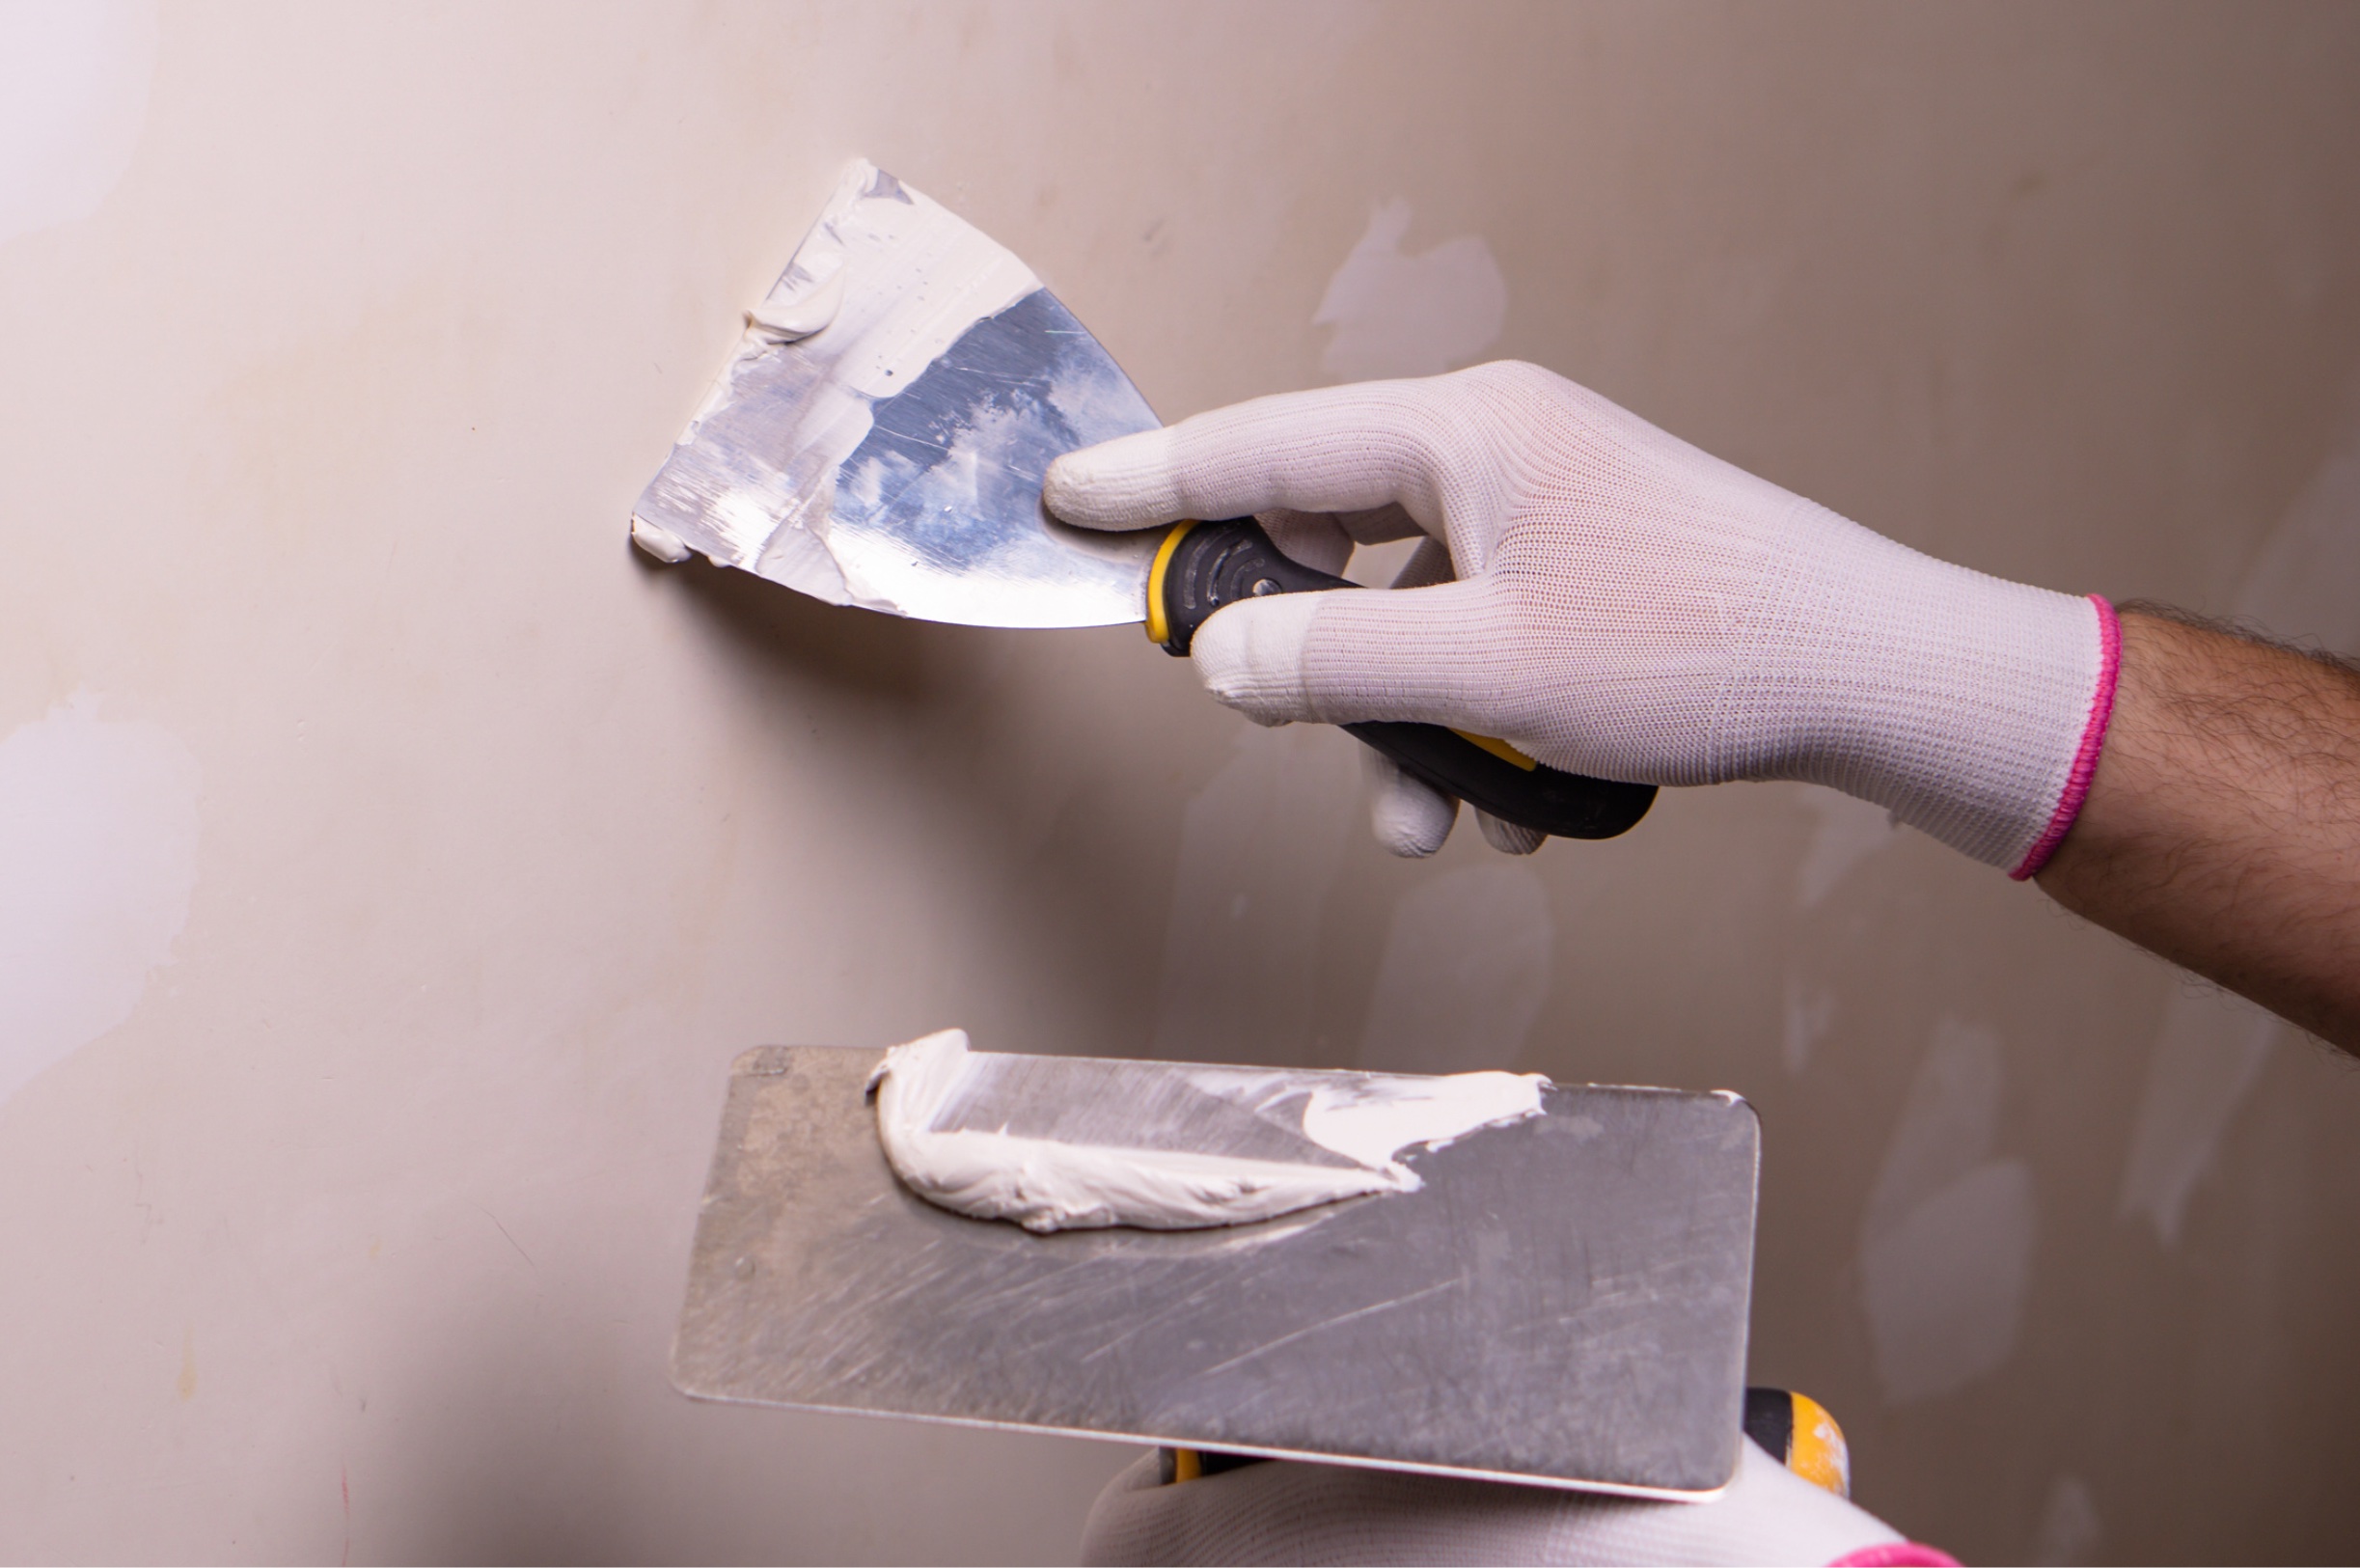
- Inspect the wall for holes, cracks, and dings.
- Use a putty knife to fill small holes or cracks with spackle or wall filler.
- Allow the filler to dry according to the manufacturer's recommendations.
- Sand the repaired areas with fine-grit sandpaper until they are even with the rest of the wall.
- Areas needing repair which are larger than the size of a Quarter will require appropriate patches to “scaffold” the repair. Spackle, or wall filler, alone will not produce a robust enough patch for long term performance.
4. Sand Rough Areas
A wall's texture can vary, especially if there have been multiple paint jobs over the years. Sanding ensures a consistent surface.
Instructions:
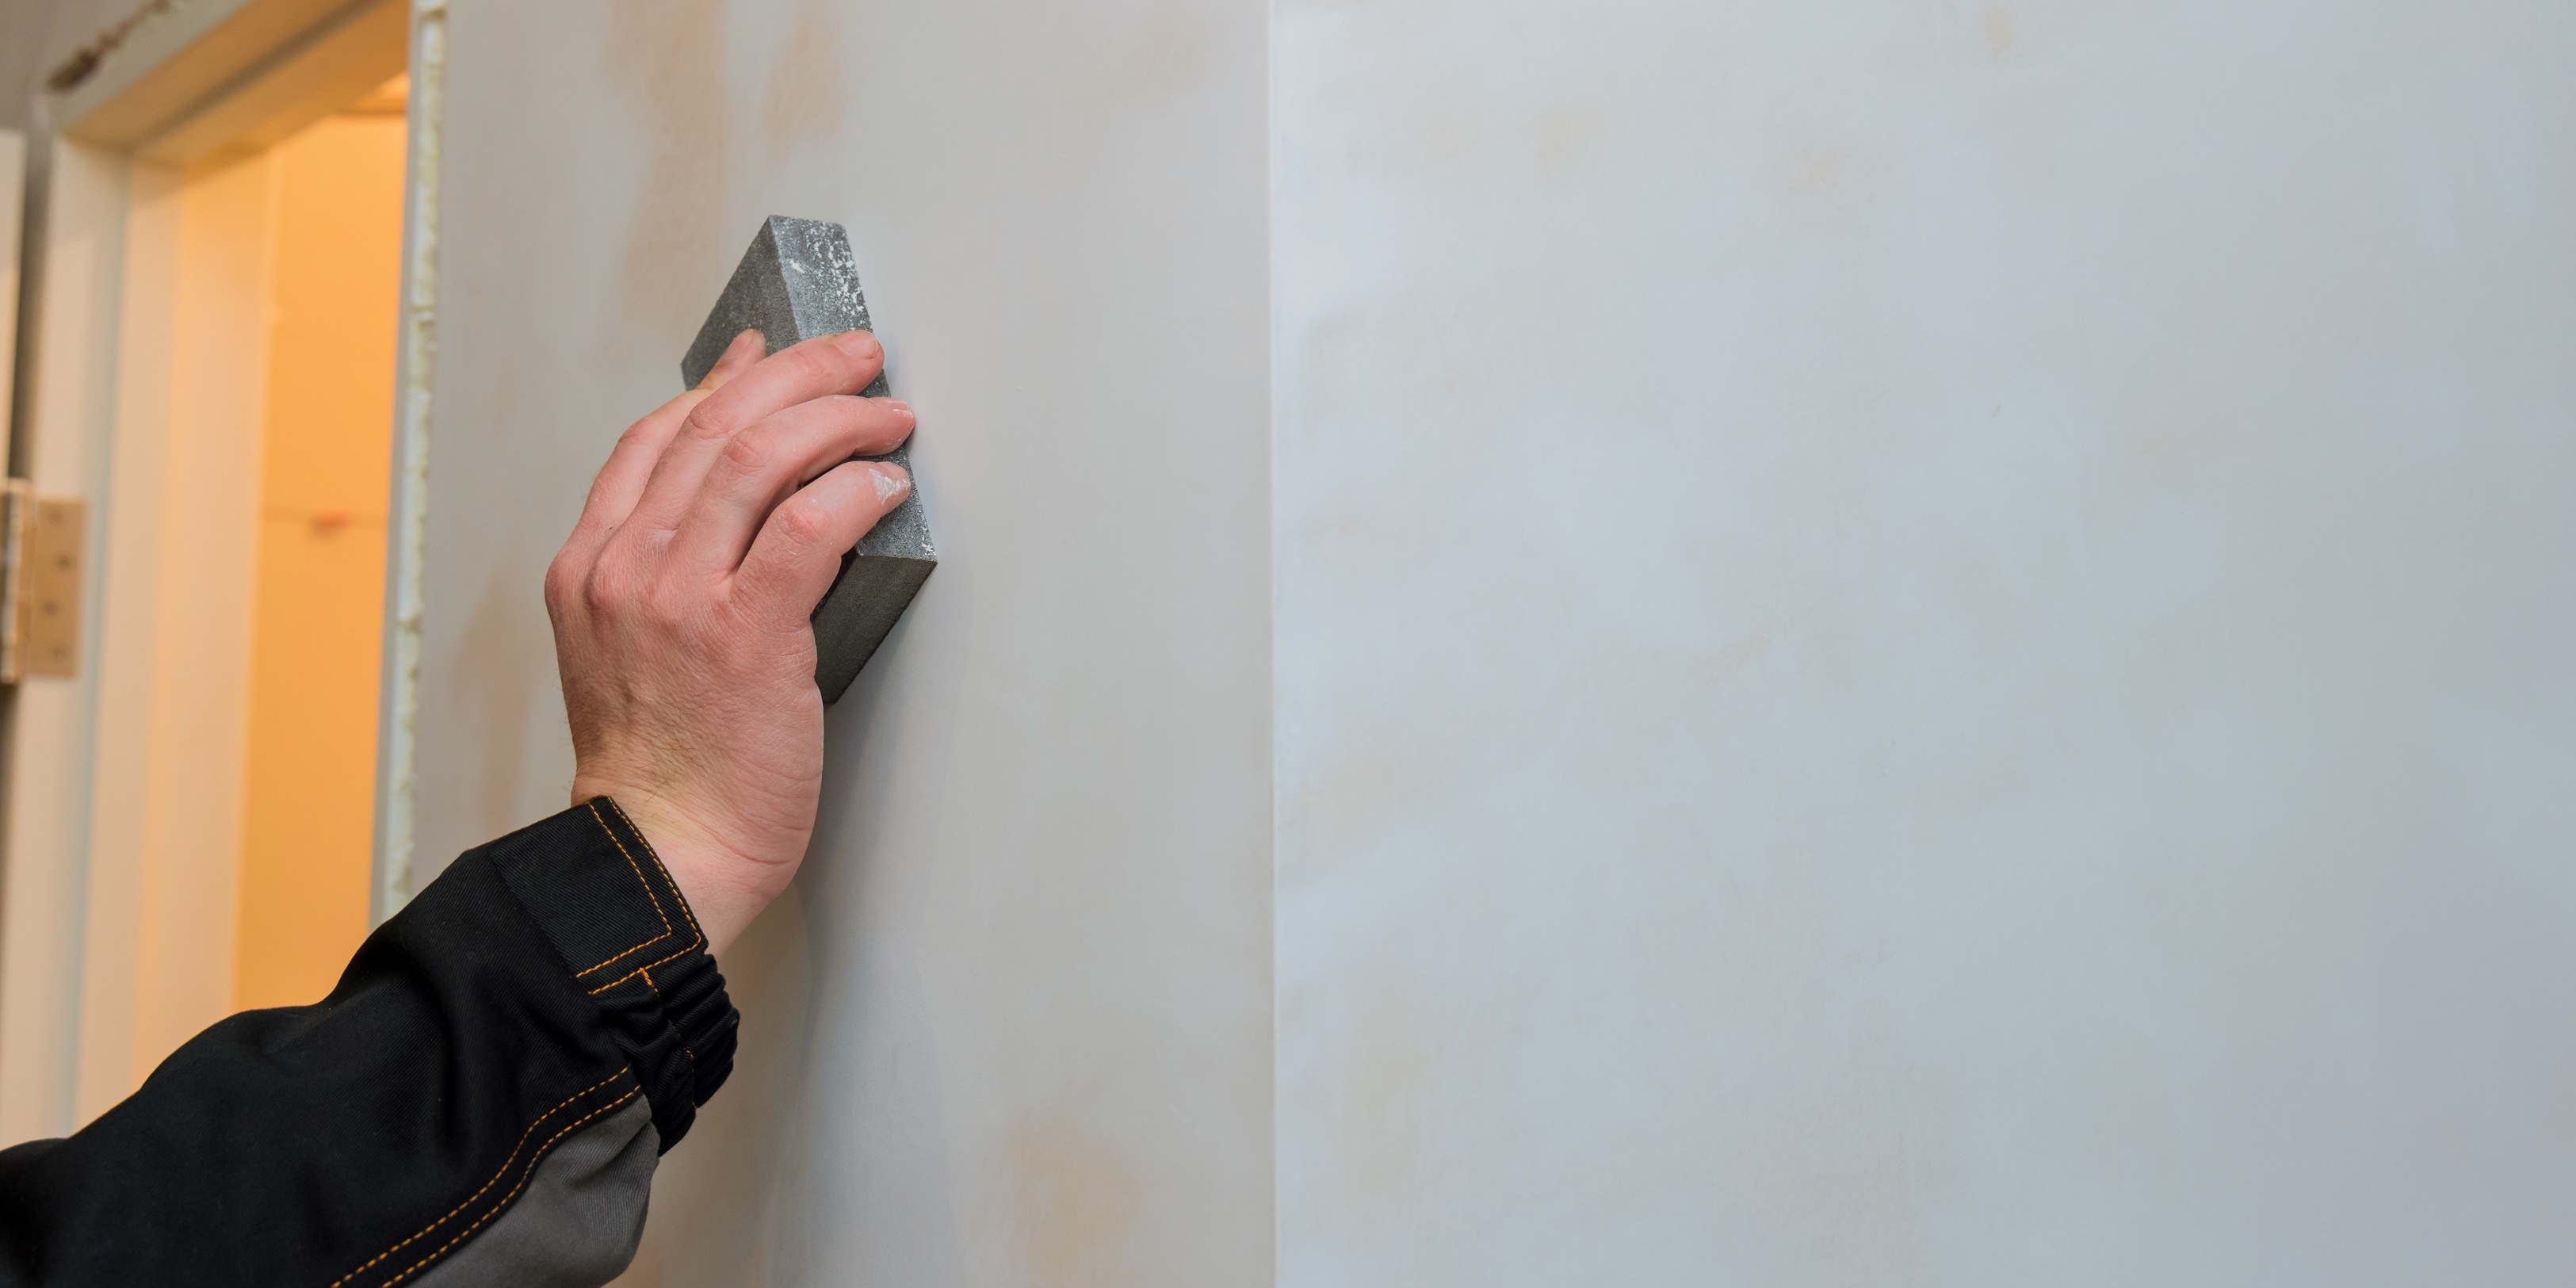
- Use fine-grit sandpaper (around 220-grit) to lightly sand the entire wall or targeted rough patches.
- Focus on areas with visible brush marks or drips from previous paint jobs.
- After sanding, use a tack cloth or a damp rag to remove all dust. This is essential, as leftover dust can mix with the paint.
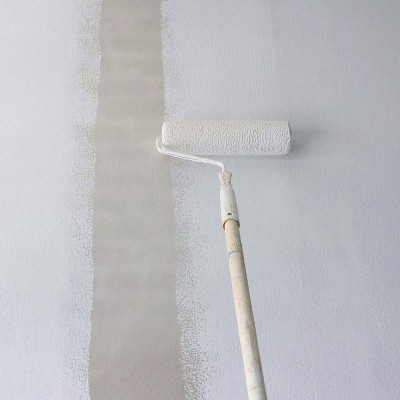
5. Apply Primer
A primer seals the wall and provides a consistent base, ensuring the paint color reflects true to its swatch. A uniform, equally porous surface is essential for the best paint finishes.
Instructions:
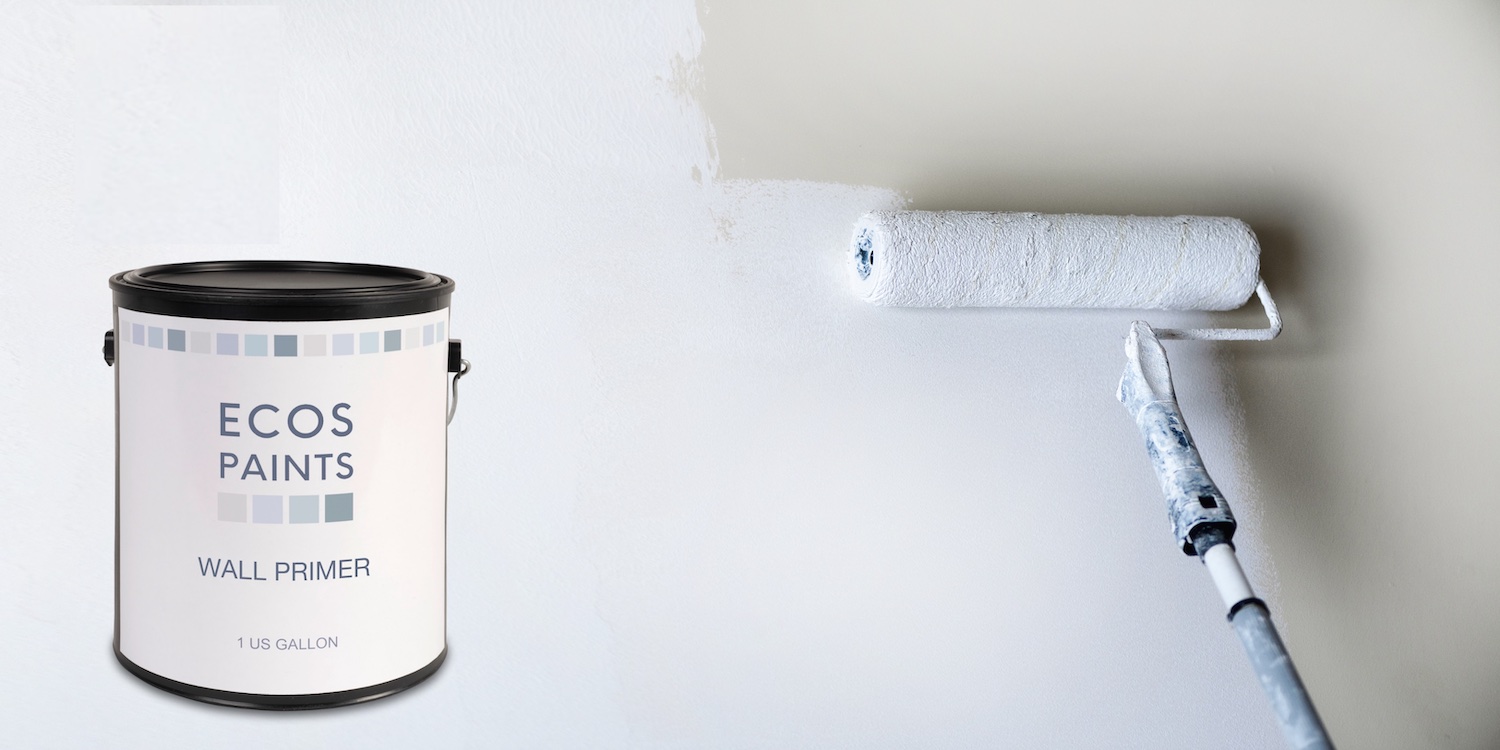
- Depending on your wall's condition, select the appropriate ECOS primer.
- Stir the primer well before application.
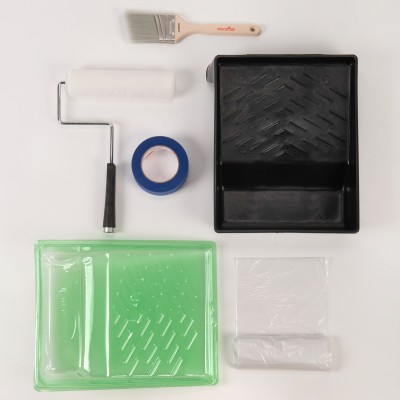
- Use a brush to cut in edges and corners. A roller can be used for the broader wall sections, ensuring even coverage.
- Allow the primer to dry fully before proceeding to paint.
6. Tape Off Adjacent Surfaces
Even the steadiest hand can make mistakes. Using painter's tape ensures clean lines and protects surfaces you don't intend to paint.
Instructions:
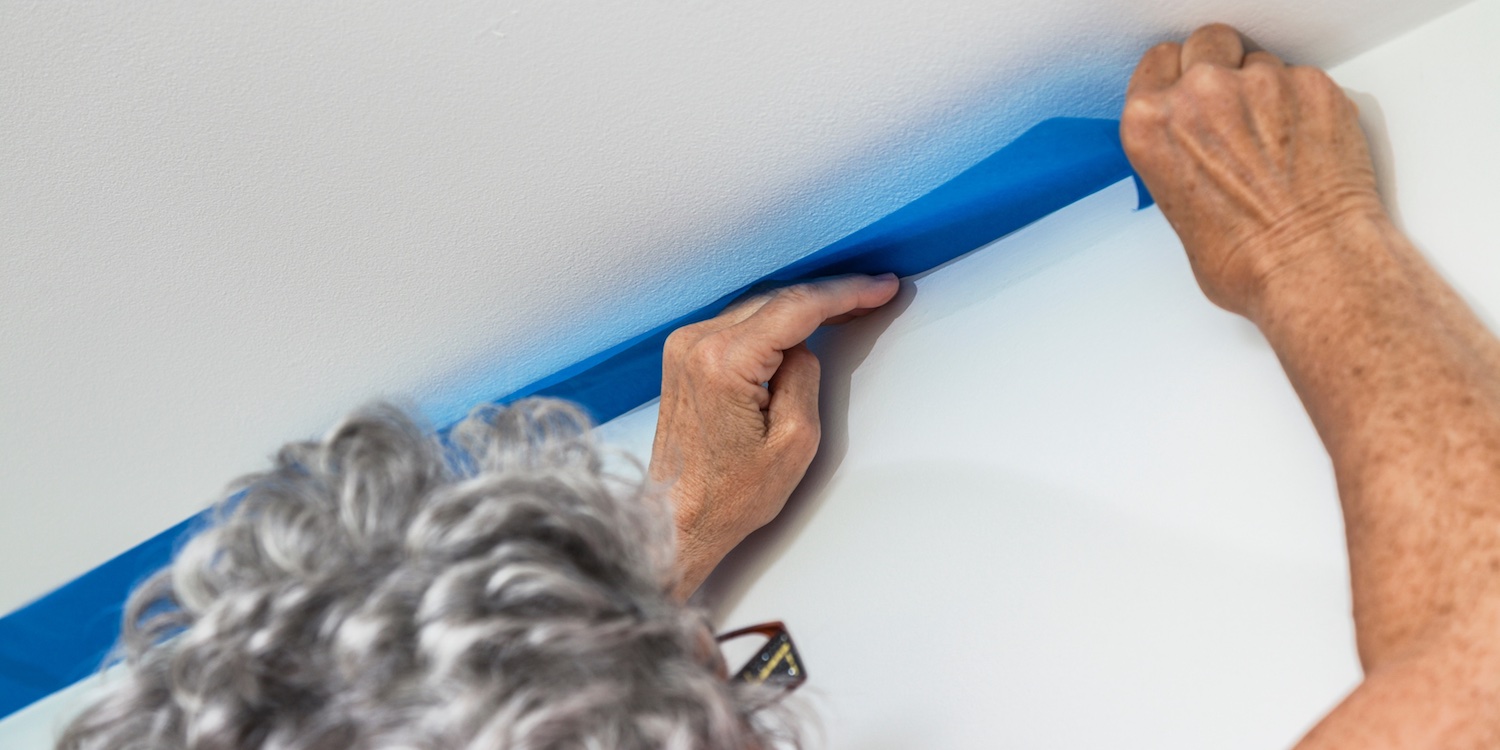
- Choose a good quality painter's tape that's appropriate for your wall type.
- Apply the tape in straight, continuous lines, ensuring there are no air bubbles.
- Press down firmly on the edges to ensure a seal, preventing paint bleed.
- Remove the tape before the paint has completely dried to avoid peeling the new film.
Conclusion
Every painting project's success hinges on the quality of the preparation work. With this detailed guide and ECOS Paints in hand, you're well on your way to achieving a stunning transformation of your living space.
RELATED PRODUCTS
Eggshell Paint
Eggshell Paint is a low to medium sheen, protective finish that dries to a hard, durable, film. Ide...
Universal Primer
Universal Primer is a strong bonding primer for use on most surfaces. It is also effective at coveri...
All-in-One Painter's Kit
Our All-In-One Painter’s Kit includes all the essential tools for your upcoming painting project. Ge...
Drywall Primer
Drywall Primer (for new construction) is used to provide a strong bonding layer that gives drywall s...


